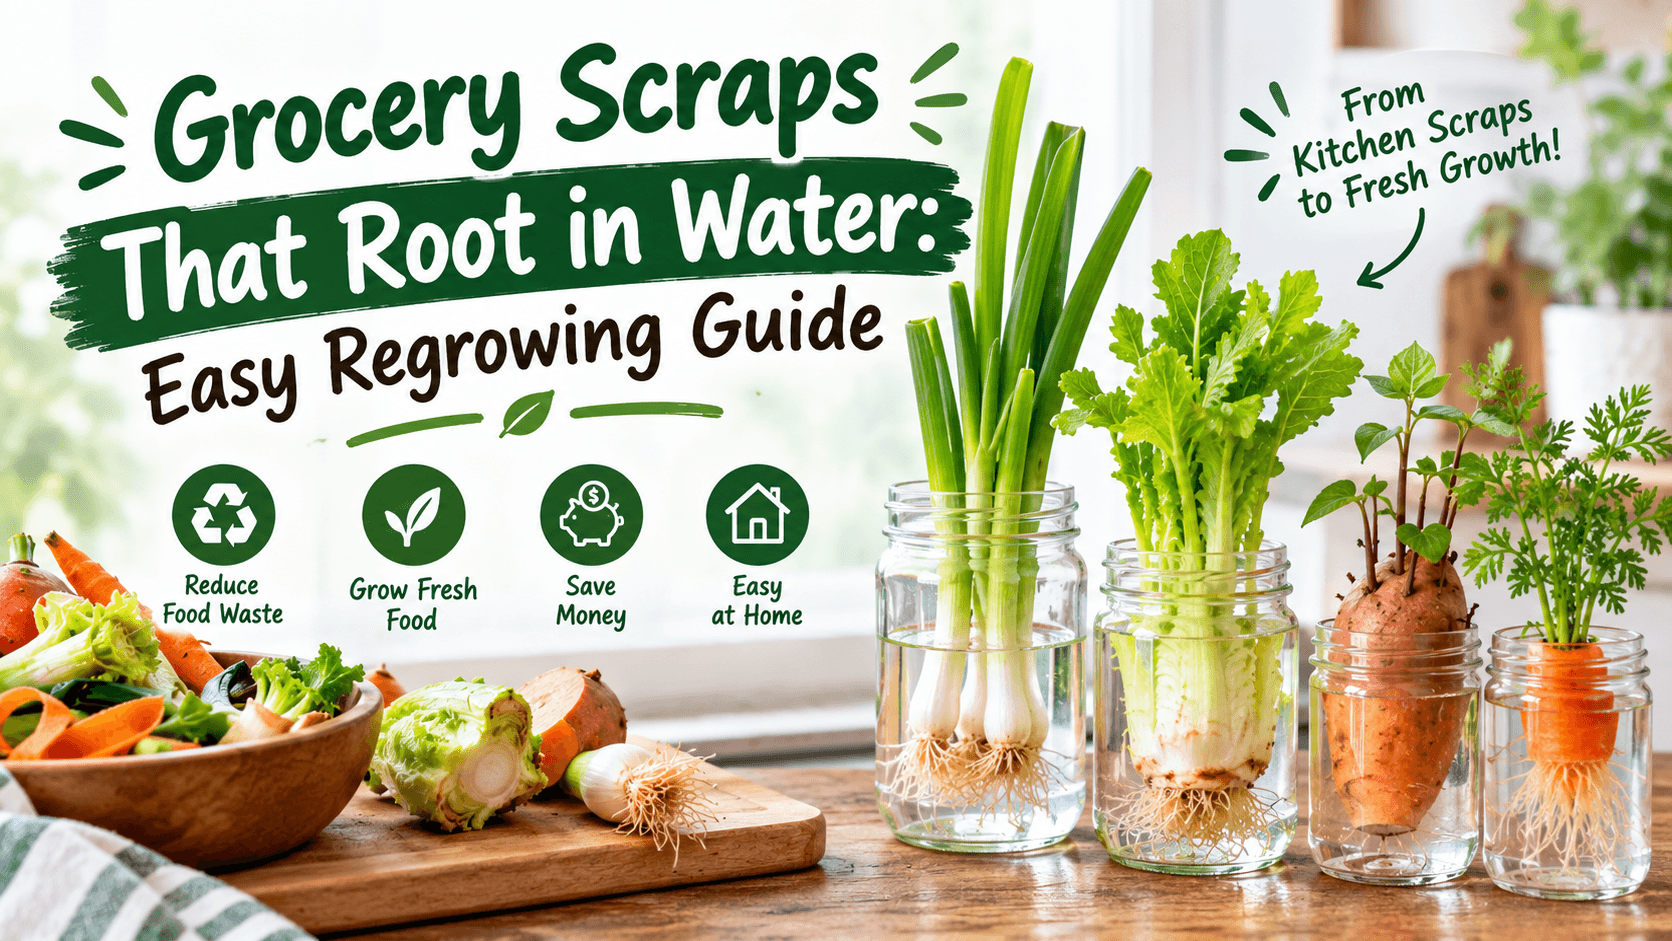
Grocery Scraps That Root in Water: The Lazy Little Garden Trick I Keep Coming Back To
There’s something pretty satisfying about taking a grocery scrap that would normally hit the compost bin and getting it to grow again. Grocery scraps that root in water are one of those little homesteading tricks that costs almost nothing, doesn’t need much space, and is actually pretty fun to watch.
I especially like this idea for people with small backyards, balconies, patios, or even just a sunny kitchen window. You don’t need a big garden. Sometimes all you need is a glass, some clean water, and a leftover piece of vegetable.
Now, I want to be honest about something. Not every grocery scrap will turn into a giant new plant. Some are much better at regrowing than others. A few will give you fresh greens for a while, while others can eventually be planted in soil and grown much further.
That’s part of the fun. You experiment a little, see what happens, and learn as you go.
Why I Like Regrowing Grocery Scraps in Water
The biggest reason is simple: it’s cheap.
You’re already buying the food, so instead of throwing away the bottom of the plant, you save it. Put it in a shallow container of water and see if it wakes back up.
This is also a great little project for kids because you can actually watch roots appear. One morning there’s nothing. A few days later, you see tiny white roots sticking out. Then suddenly there are new green leaves.
It feels almost like cheating at gardening.
For urban homesteading, this can also be a handy way to make better use of food scraps. It won’t replace your vegetable garden, but it can give you extra greens and herbs while teaching you which plants respond well to regrowing.
1. Green Onions Are Almost Too Easy
If you’re new to regrowing food, start with green onions.
Save the white bottom portion with the roots still attached. Put the roots into a small glass of water and leave the green part sticking above the water.
That’s pretty much it.
Place it somewhere bright and change the water regularly. You’ll usually notice the green leaves starting to grow again fairly quickly.
I like keeping a little jar of green onions near a sunny window. It’s not exactly a farm, but when you’re cooking and need a little onion for eggs, soup, rice, or noodles, having fresh green tops nearby is pretty handy.
One mistake people make is putting the entire cutting underwater. Don’t do that. The roots need water, but keeping too much of the plant submerged can encourage rot.
2. Celery Can Regrow From the Bottom
Celery is another fun one.
Save the bottom section of a celery bunch and place it cut-side up in a shallow dish. Add enough water to cover the bottom portion without drowning the whole thing.
Put it somewhere with plenty of light.
After a while, you may notice small leaves developing from the center. New growth can start appearing before you even realize what’s happening.
Here’s where I’d keep expectations reasonable. Regrowing celery in water is more of a fun experiment than a magic way to get an endless supply of celery.
Once the plant starts producing roots and stronger new growth, you can move it into potting soil if you want to see how far you can take it.
3. Romaine Lettuce Is Great for a Kitchen Window
Romaine lettuce is another grocery scrap worth trying.
Keep the bottom core after cutting off the leaves. Set it in a shallow dish with a little water around the bottom.
Fresh leaves can begin growing from the center.
This is especially useful if you live somewhere with very little outdoor growing space. A sunny windowsill can become a tiny experimental garden.
Just remember that the new leaves may be smaller than the original lettuce. I usually think of this as getting some bonus greens rather than replacing an entire head of lettuce forever.
4. Bok Choy and Other Asian Greens
Bok choy can be surprisingly good for this.
Save the bottom portion and place it in a shallow container with a small amount of water. Keep the growing center above the water.
With enough light, you can often see fresh leaves emerging from the middle.
Other leafy vegetables may respond in a similar way, especially when the remaining piece still has a healthy central growing point.
This is one of those situations where I’d experiment rather than get too hung up on exact rules. If it looks healthy and starts producing new growth, keep going.
5. Leeks Can Keep Giving You Green Tops
Leeks have a nice little trick too.
Save the root end with a bit of the white stem attached. Stand it upright in a small container and add a little water.
New green growth can come from the center.
You can harvest the new green leaves for cooking while the plant continues growing. Eventually, if you want a bigger plant, move it into soil.
This is one of my favorite examples of turning a kitchen leftover into something useful instead of treating every scrap as garbage.
6. Garlic Cloves Can Surprise You
Garlic is a little different because you’re generally working with an individual clove rather than a leafy vegetable base.
If a garlic clove starts sprouting, don’t automatically toss it.
You can encourage the green shoot to grow by giving it light and moisture. The green garlic shoots can be used in cooking when they’re young.
For growing an actual garlic bulb, though, soil is the better option. Water is useful for getting the sprout started, but garlic needs more than a glass of water if your goal is a mature bulb.
How to Root Grocery Scraps in Water Without Making a Stinky Mess
I learned this one the annoying way: too much water is not better.
If you put a vegetable scrap in a deep glass of water and forget about it for several days, you can end up with slimy plant material and water that smells like something died in the kitchen.
Not exactly the fresh garden experience we were hoping for.
Here’s what I normally recommend:
- Use a clean glass or shallow dish.
- Use fresh water instead of letting it sit forever.
- Keep only the root or bottom section submerged.
- Give the plant plenty of natural light.
- Remove any soft or rotten pieces.
- Move healthy growth into soil when it starts needing more room.
If the water becomes cloudy or smells bad, dump it, clean the container, rinse the plant gently, and start again with fresh water. If the plant itself is slimy or rotten, it’s better to compost it.
What Kind of Light Do Grocery Scraps Need?
This part gets overlooked.
You don’t need to put everything directly against a blazing hot window. A bright location with plenty of indirect or gentle sunlight is usually a good place to start.
Plants need light to make new growth. Water alone isn’t enough.
If your kitchen is dark, try a brighter windowsill or a simple grow light. Just keep an eye on the temperature if the container sits right next to a hot window.
When Should You Move the Scrap Into Soil?
This depends on the plant.
If you see healthy roots developing and the plant is producing new leaves, that’s usually a good sign that it may be ready for a bigger growing environment.
For something like green onions, you can continue harvesting the green tops from the water setup for a while. For plants you want to grow larger, soil gives them access to nutrients and physical support that plain water doesn’t provide.
I like using a small pot with ordinary quality potting soil. Make a little hole, place the rooted scrap in it, cover the roots, and water gently.
Don’t pack the soil down like concrete. Plants need air around their roots too.
Can You Really Grow Food Forever From Scraps?
This is where the internet sometimes makes things look a little too magical.
No, most grocery scraps aren’t going to give you an endless supply of vegetables forever.
Some plants are excellent at regrowing leaves. Others are better for producing a second round of growth. Some can eventually be planted outdoors and grown into mature plants, depending on the crop and growing conditions.
But the real value is learning.
You start paying attention to where plants grow from. You notice roots. You learn how much water is too much. You get comfortable moving plants from water to soil.
And before long, you’re looking at your kitchen scraps differently.
My Favorite Grocery Scraps to Try First
If you’re standing in your kitchen right now wondering what to save, I’d start with these:
- Green onions — probably the easiest beginner project.
- Celery — fun to watch produce fresh center growth.
- Romaine lettuce — good for small indoor experiments.
- Bok choy — another interesting leafy vegetable to try.
- Leeks — great for regrowing green tops.
- Garlic — especially when cloves have already started sprouting.
Don’t feel like you need to try everything at once. Pick one or two scraps and see what happens.
What About Carrot Tops, Potato Peels and Other Scraps?
Some kitchen scraps can grow new greens but won’t necessarily grow another full vegetable.
Carrot tops are a good example. You can encourage the leafy part to grow, but you shouldn’t expect the cut carrot top to magically produce another full carrot.
Potatoes are different again. A potato with healthy eyes can sprout and eventually be planted in soil, but simply sitting a potato in a glass of water isn’t the same as growing a productive potato plant.
That distinction is important if you’re trying to become more self-sufficient. Regrowing greens is one thing. Producing a full crop is another.
A Few Mistakes I’d Avoid
Here are the little things that can turn a fun project into a gross one.
Don’t drown the whole plant
Roots like water. Most of the stem and leaves don’t need to sit underwater.
Don’t forget about light
A dark cabinet isn’t a garden. Give your regrowing scraps a bright spot.
Don’t ignore rot
If something turns mushy, smells bad, or develops obvious mold, don’t try to save it just because you hate wasting food. Compost it if appropriate and start with a fresh scrap.
Don’t expect miracles
This is probably the biggest one.
Regrowing grocery scraps is fun, but it doesn’t replace a real vegetable garden. Think of it as a small bonus and a great learning project.
Mini FAQ About Grocery Scraps That Root in Water
How long does it take grocery scraps to grow roots?
It depends on the plant and its condition. Some scraps can show new growth fairly quickly, while root development can take longer. Healthy scraps with an intact growing point usually have the best chance.
Can I use tap water?
Usually, yes. Clean drinking water is fine for simple regrowing experiments. If your water is heavily treated or you notice plants struggling, you can experiment with letting water sit before using it, but don’t make this more complicated than it needs to be.
Do grocery scraps need soil eventually?
If your goal is to grow a larger, long-term plant, usually yes. Water can get the process started, but soil provides nutrients and support that most plants need for continued growth.
Give Your Kitchen Scraps a Second Chance
The funny thing about homesteading is that sometimes the smallest projects teach you the most. A little green onion sitting in a glass of water doesn’t look like much, but it gets you thinking differently about food, waste, gardening, and what you can actually grow yourself.
So next time you’re chopping vegetables, don’t rush everything into the trash or compost bucket. Look at the scraps first. Save a healthy bottom, put it in some water, give it light, and see what happens.
You might get a few fresh leaves. You might grow something big enough to plant outside. Or you might end up with a sad, slimy science experiment and learn what not to do next time. I’ve gotta say, both outcomes are useful.
Start small, keep it simple, and have fun with it. Grocery scraps that root in water are one of the easiest little experiments you can add to an urban garden, backyard homestead, or kitchen windowsill.
If you try one and it works—or completely flops—tell me about it. Those are usually the best gardening stories anyway.