DIY Garden Pathway Lighting: How I Made My Backyard Paths Safer and Prettier
The first time I tried DIY garden pathway lighting, I thought it was going to be one of those easy Saturday projects. Put a few lights in the ground, connect a wire, drink coffee, done.
Yeah… not exactly.
I ended up putting two lights way too close together, one light pointed straight into my neighbor’s window, and another one somehow ended up leaning sideways like it had been drinking with me.
You’re gonna laugh at this, but I left it that way for almost a week.
After a few years of messing around with garden lighting, I finally figured out what actually works for a backyard garden, especially if you’re growing vegetables, keeping chickens, making compost, or just trying to make your little homestead feel nicer at night.
So lemme show you how I approach DIY garden pathway lighting without making it complicated or spending a pile of money.
Why I Started Adding Lights Along My Garden Paths
My garden looks completely different after sunset.
During the day, you see tomato plants, herbs, raised beds, fruit trees, compost bins, and all the normal backyard stuff. At night, you mostly see… nothing.
And that’s a problem when you need to walk outside.
I’ve stepped into garden hoses, tripped over a bucket, kicked a shovel, and once walked straight into the corner of a raised bed. That last one hurt for a couple days.
Good pathway lighting solved a lot of that.
I wasn’t trying to turn my backyard into a fancy resort. I just wanted enough light to see where my feet were going.
Light the path, not the whole backyard. You don’t need your garden glowing like a parking lot.
What I Use for DIY Garden Pathway Lighting
You don’t need a huge electrical project for this.
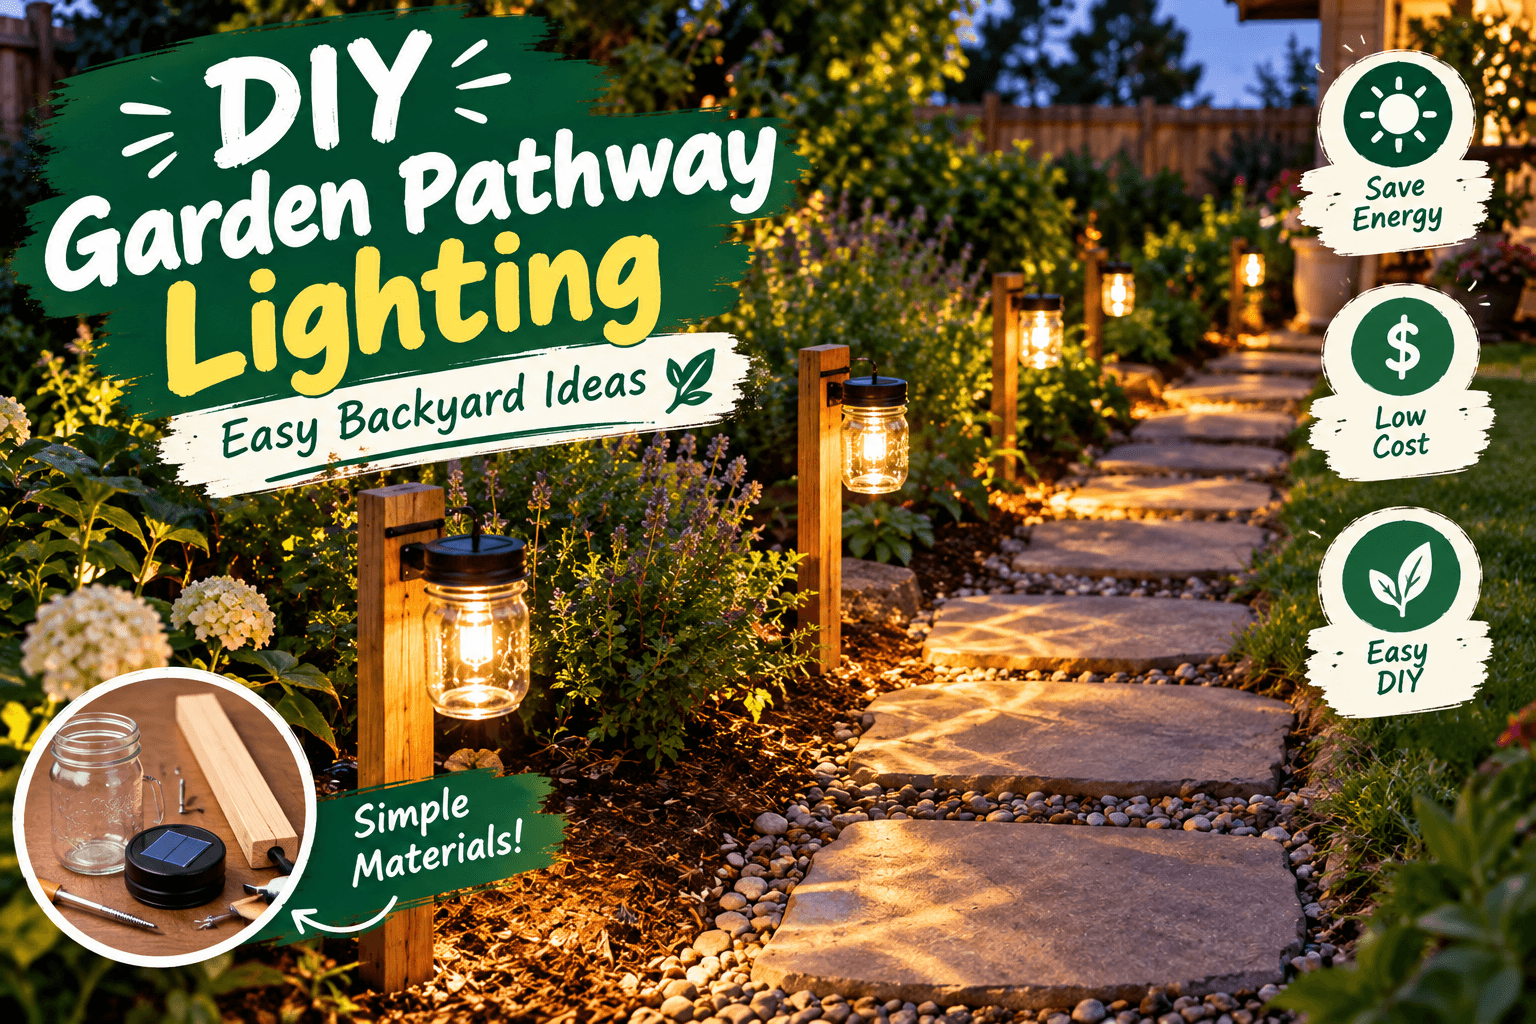
For most backyard gardens, I like solar pathway lights because they’re simple. You stick them in the ground, let the little solar panel charge during the day, and they turn on when it gets dark.
Here’s the basic setup I use:
- Solar pathway lights
- A small hand shovel or garden trowel
- A tape measure
- Gloves
- A small level, if you have one
- Some gravel for loose or wet soil
- Wooden stakes or small markers for planning
That’s about it.
If you’re using low-voltage wired lights instead of solar, you’ll need additional equipment and you’ll want to follow the manufacturer’s instructions carefully. But for a simple DIY backyard project, solar lights are hard to beat.
Where Should You Put Garden Pathway Lights?
This is where I made my first big mistake.
I originally put lights directly in a straight line down both sides of the path. It looked okay during the day, but at night it looked like a little airport runway.
Not exactly the cozy homestead feeling I was going for.
Now I stagger the lights instead.
Instead of putting every light directly opposite another light, move them slightly from side to side. This spreads the light around without creating one bright strip.
I especially like this around vegetable beds, stepping stones, small bridges, compost areas, and paths leading to the chicken coop.
My Simple Way to Plan the Path Before Digging
Don’t put the lights in the ground immediately.
Trust me, I learned the hard way.
Walk through your garden after sunset with a flashlight. Think about where you actually walk. Don’t just look at the garden from the kitchen window.
Walk the path.
Look for places where you can’t see a step, rock, hose, fence post, tree root, or raised bed corner.
Those are the places that need attention.
I use little sticks or old pieces of wood to mark where I think the lights should go.
Then I walk the path again.
If the light locations still make sense, then I install them.
How Far Apart Should DIY Garden Pathway Lights Be?
There isn’t one perfect distance for every garden.
It depends on how bright the lights are, how wide your pathway is, how much moonlight you get, and what you’re trying to see.
For my garden paths, I usually start around 6 to 10 feet apart and adjust from there.
Small solar lights may need to be closer together. Brighter lights can usually be spaced farther apart.
And here’s another thing I learned: don’t judge them during the afternoon.
A light can look completely useless at 3 PM because the sun is shining directly on it. Then you come outside at 9 PM and suddenly it’s lighting up half the garden.
Install a couple lights first and test them for a night before buying twenty more.
Solar Pathway Lights Are My Favorite for Small Gardens
For a simple backyard or urban homestead, I usually choose solar lights.
They’re not perfect, though.
Cloudy weather can reduce charging. Shade from trees can also be a problem. And cheap solar lights sometimes start getting weak after a while.
I’ve bought some bargain lights that looked great in the package and barely lasted through dinner.
That taught me something.
Don’t buy garden lights only because they’re cheap.
Look for lights with a decent-sized solar panel, replaceable batteries if available, weather-resistant construction, and a design that can handle being outside.
Also, keep the solar panel clean.
A little dirt, dust, bird poop, or pollen can reduce how much sunlight reaches the panel. I wipe mine down occasionally with a damp cloth.
Don’t Put Solar Lights Under Trees
This one sounds obvious, but I still see people doing it.
A solar light needs sunlight.
I’ve put lights under trees before because the location looked perfect from a landscaping point of view. Then they barely worked.
If your path runs through a shady part of the backyard, check how much direct sunlight reaches that area during the day.
You may need a different type of lighting there.
For an off-grid or self-sufficient setup, you can also get creative with separate solar panels and low-voltage lighting systems, but that’s a bigger project.
How I Install Solar Pathway Lights
This part is pretty easy.
First, I mark the location.
Then I check the soil.
If the ground is soft, I can usually push the stake in carefully. If it’s hard, I use a small trowel to make a starter hole.
Don’t hammer the light into hard soil.
I did that once and cracked the plastic housing. Not my finest gardening moment.
After the hole is ready, I place the light into the ground and make sure it stands straight.
If the soil is loose, I sometimes add a little gravel around the base and press the soil back firmly.
But don’t bury parts of the light that aren’t designed to be underground.
Always follow the installation instructions that came with your particular light.
A Little Gravel Can Make a Big Difference
Some areas of my garden stay wet after heavy rain.
If you put a pathway light directly into soggy soil, the base can become loose or muddy.
I like adding a small amount of gravel around the base when the ground needs better drainage.
This also helps keep the area looking cleaner.
Just don’t create a little gravel pile right in the middle of your walking path. Yep, I’ve done that too.
What Color Light Should You Use?
This is mostly personal preference, but I prefer warm white light around my garden.
It feels softer and more natural.
Cool white or very bright blue-ish lighting can make a backyard feel more like a parking lot.
Warm lighting works especially well around wooden fences, raised beds, stone paths, pergolas, and plants.
If you’re trying to create a relaxing backyard space, I would start with warm white.
Don’t Make Your Garden Too Bright
More light isn’t always better.
That’s something I learned after buying brighter lights because I thought they would make the garden safer.
Instead, they created harsh shadows everywhere.
Bright lights can also be annoying if they’re shining toward your house, your neighbor’s property, or a bedroom window.
I want enough light to walk safely, not enough to perform surgery on a tomato plant at midnight.
Keep the lights low and point them toward the ground whenever possible.
DIY Garden Pathway Lighting Around Raised Beds
Raised beds are one of my favorite places to add pathway lighting.
At night, it makes it much easier to see the edges of the beds.
This matters when you’re carrying a basket of tomatoes, watering cans, chicken feed, or a tray of seedlings.
I usually put the lights slightly outside the walking area instead of directly beside the bed.
That way I can still walk comfortably without brushing against the plants.
And if you have tall plants like tomatoes or cucumbers, make sure the leaves won’t eventually block the solar panel.
Lighting the Path to the Chicken Coop
If you’ve got chickens, you already know that nighttime chicken chores aren’t always fun.
I’ve gone outside in the dark more times than I can count to check water, close a door, or make sure everyone got inside.
A few small pathway lights between the house and coop make that walk much easier.
But I don’t put bright lights directly inside the coop unless they’re specifically designed for that purpose.
I just want enough light along the walking route to see where I’m stepping.
One Mistake: Putting Lights Too Close to Plants
Here’s another lesson from my backyard.
I once placed a light right beside a young plant because it looked pretty.
As the plant grew, the leaves covered the light and eventually blocked the solar panel.
So now I think ahead.
Look at the mature size of the plants around your path. A tiny rosemary plant today can become a big bush later. Cucumbers can take over anything they can reach. And tomatoes… well, tomatoes don’t care about your plans.
Give everything a little room.
Can You Make DIY Garden Pathway Lighting Look Beautiful?
Absolutely.
You don’t need expensive landscaping.
Use the lights to highlight things you already have.
A small path through herbs can look great with a few low lights. A stone walkway can look beautiful when the lights are staggered. A simple wooden gate can become a nice focal point with two lights nearby.
And if you’re doing permaculture or natural landscaping, try not to make the lighting look too artificial.
Let the garden still feel like a garden.
My 3 Favorite Tips After Years of Using Garden Lights
Buy two or three lights first. See how they perform overnight. Then expand the setup.
This takes about a minute and can help your lights charge better.
Focus on steps, uneven ground, path edges, gates, and areas where you regularly trip.
A garden doesn’t need to be lit like a parking lot. Soft light usually works better.
Mini FAQ: DIY Garden Pathway Lighting
For a basic backyard garden, I think they’re a very practical option. They’re easy to install and don’t require running electrical cables. Just remember that sunlight, weather, battery quality, and the light’s construction all affect performance.
Start with fewer than you think you need. Put them around 6 to 10 feet apart, test the lighting at night, then move or add lights where the path is still too dark.
Sure. I use them around paths and raised beds. Just keep the lights out of the way of your plants, don’t block the solar panels, and avoid creating obstacles where you walk or work.
My Final Backyard Setup
These days, I don’t try to make my garden look like some fancy outdoor showroom.
I want it useful.
I want to walk outside after dark, grab a few herbs, check the chickens, look at the compost pile, or bring something in from the garden without falling over a bucket.
That’s really what DIY garden pathway lighting is about for me.
Start small. Light the places where you actually walk. Use warm, gentle light when you can, and don’t worry if the first setup isn’t perfect. Move the lights around until the garden feels right.
And if you mess one up like I did, don’t worry. Pull it out and try again. That’s half the fun of a backyard homestead anyway.
Ready to Light Your Garden Path?
You don’t need a huge landscaping budget or complicated electrical work to make your backyard easier to walk through at night.
Start with two or three simple lights, test them after dark, and build from there. Your garden doesn’t have to be perfect. It just needs to work for you.
Got a weird garden lighting question? Leave a comment. I actually like hearing about these little backyard projects, especially the ones that don’t go according to plan.