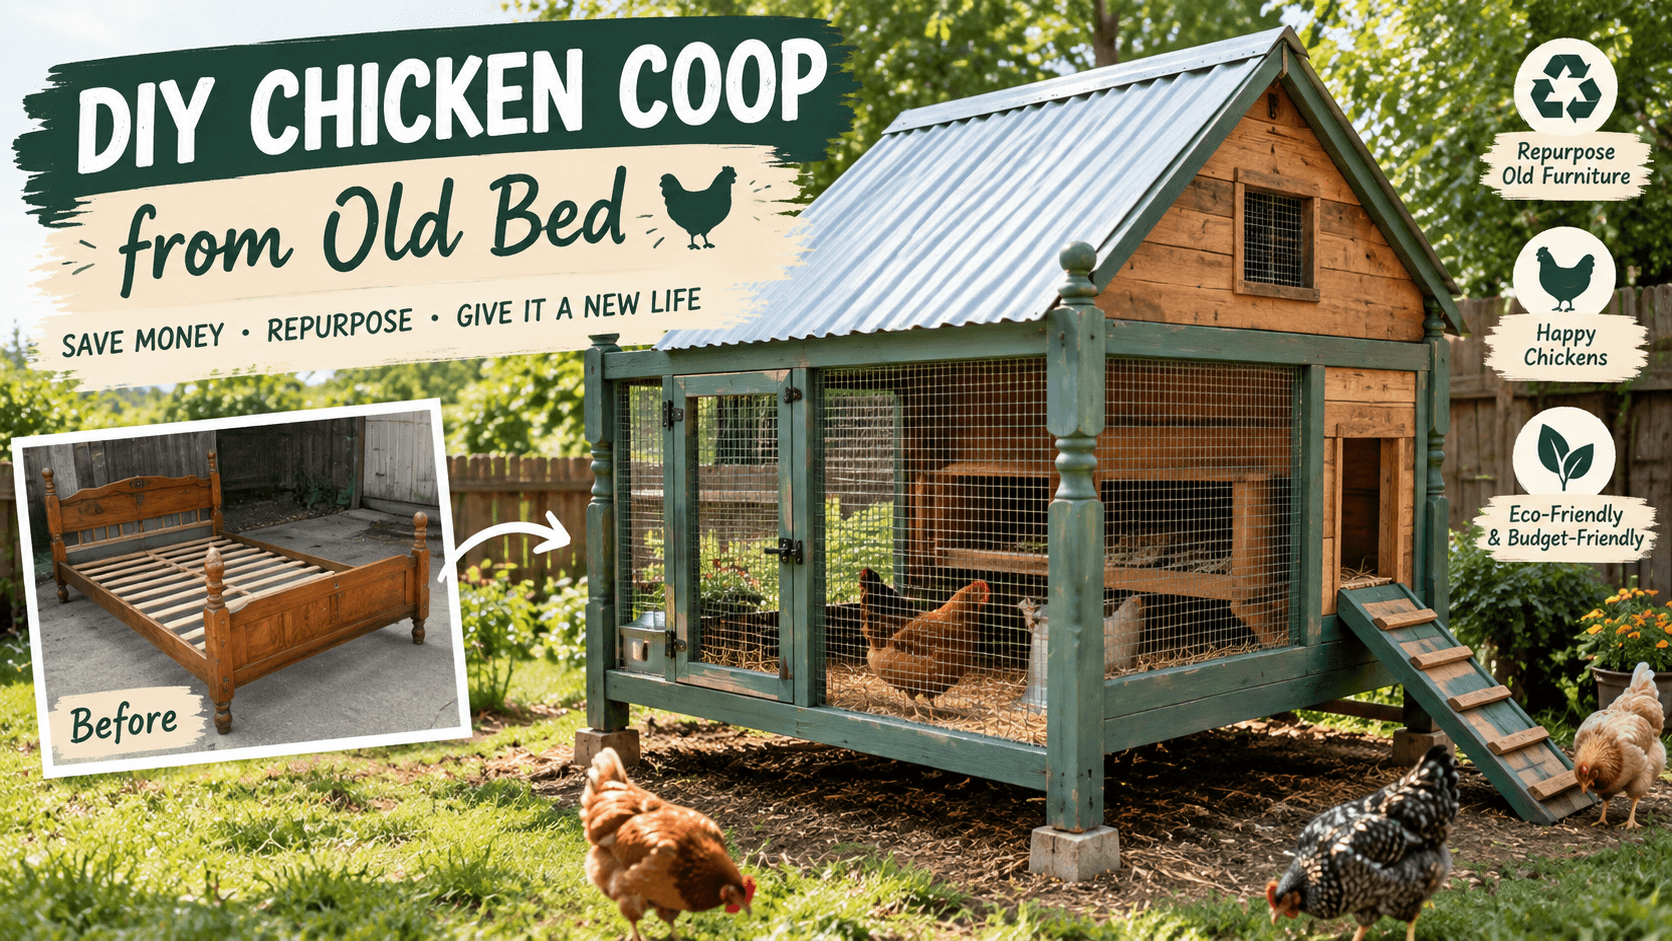
DIY Chicken Coop from Old Bed . I’ll admit it right now: when I first looked at an old bed frame sitting in the corner of the garage, I did not see a chicken coop.
I saw junk.
My wife saw junk too.
But after looking at that metal frame for a few days, I started thinking, “Wait a minute… chickens don’t care if their house used to be a bed.”
That was the beginning of one of my favorite backyard projects.
Building a DIY chicken coop from an old bed frame turned out to be cheaper than buying a new coop, and I was able to reuse something that probably would’ve ended up in the trash. It wasn’t perfect. Actually, the first version had a couple problems that I had to fix.
But that’s normal around my place.
If you’ve been doing homesteading for any amount of time, you already know that the first version of a DIY project is usually the learning version.
So let me show you how I approached it and what I’d do differently if I built another one today.
Why Use an Old Bed Frame for a Chicken Coop to DIY Chicken Coop from Old Bed?
The nice thing about an old bed frame is that you already have a basic structure.
Depending on the type of frame, you may have:
- A strong base
- Metal or wooden side rails
- A headboard or footboard
- Useful corners for attaching walls
- Legs that can raise the coop off the ground
That can save quite a bit of work.
And if you already have chickens, you know how quickly coop costs can add up.
Wood.
Hardware cloth.
Roofing.
Hinges.
Locks.
Nesting boxes.
Then you look at the price of a “budget” chicken coop and wonder how something made mostly from wood costs that much.
That’s when scrap materials start looking pretty attractive.
First, Make Sure the Bed Frame Is Actually Safe
This is where I wouldn’t try to save money.
An old bed frame is only useful if it’s strong and safe.
If it’s rusty, bent, cracked, or unstable, don’t force it into the project.
A little surface rust isn’t necessarily a deal breaker on a metal frame, but serious corrosion is another story.
For a wooden bed frame, check for rot, mold, termites, cracked boards, and loose joints.
I like to shake everything before I build.
Literally.
Grab the frame and give it a good shake.
If it moves like it’s trying to dance, it probably needs repairs.
Remember, your chickens will jump on things, scratch underneath things, and generally behave like tiny feathered demolition crews.
Your coop needs to handle that.
Measure Your Chickens Before Building
Here’s a mistake I nearly made.
I started thinking about the frame before thinking about the chickens.
That’s backwards.
The number and size of your chickens should determine the size of the coop.
You need enough room for the birds to move comfortably, sleep, eat, drink, and use the nesting area without everything becoming crowded.
You’ll also need an attached run if the chickens aren’t free-ranging.
And don’t forget that more chickens usually means more cleaning.
That’s one of those things nobody mentions when you’re looking at cute chicken pictures online.
Three hens are cute.
Three hens plus a muddy floor plus spilled water?
Different story.
My Basic DIY Chicken Coop From Old Bed Frame Design
I like keeping projects simple.
My idea was basically this:
Old bed frame → raised floor → framed walls → solid roof → ventilation → secure door → nesting boxes → attached run
The bed frame became the basic foundation.
From there, I added a wooden frame around it.
If you’re using a metal bed frame, you can attach wood framing using appropriate brackets or other secure fasteners. The exact method depends on the frame.
Don’t assume every old frame can support a wooden structure.
Check it first.
The goal isn’t to build a fancy tiny house.
The goal is to build a safe chicken home.
Keep the Coop Off the Ground
This is one reason I really liked using a bed frame.
If the frame is strong enough, you can raise the coop above the ground.
That gives you some advantages.
It can help keep the floor away from wet soil.
It may improve airflow underneath.
It can also make it harder for some pests to get directly into the coop.
And my chickens loved the shaded area underneath.
They’d stand there during hot afternoons like they were paying rent.
One thing to remember, though: raising the coop doesn’t automatically make it predator-proof.
Raccoons, foxes, dogs, and other predators can be very determined.
You still need secure walls, doors, and a properly built run.
Don’t Use Chicken Wire Where You Need Predator Protection
This is probably one of the most important lessons I learned.
Chicken wire is great for keeping chickens where you want them.
It’s not the best protection against determined predators.
Hardware cloth with appropriately small openings is generally a much better choice for vulnerable areas such as coop ventilation and the run.
And attach it securely.
A predator doesn’t care how beautiful your DIY project looks.
It just wants dinner.
I make sure there aren’t large gaps around doors, corners, and the bottom of the run.
Check everything from the perspective of a raccoon.
If you can imagine a paw reaching through it, fix it.
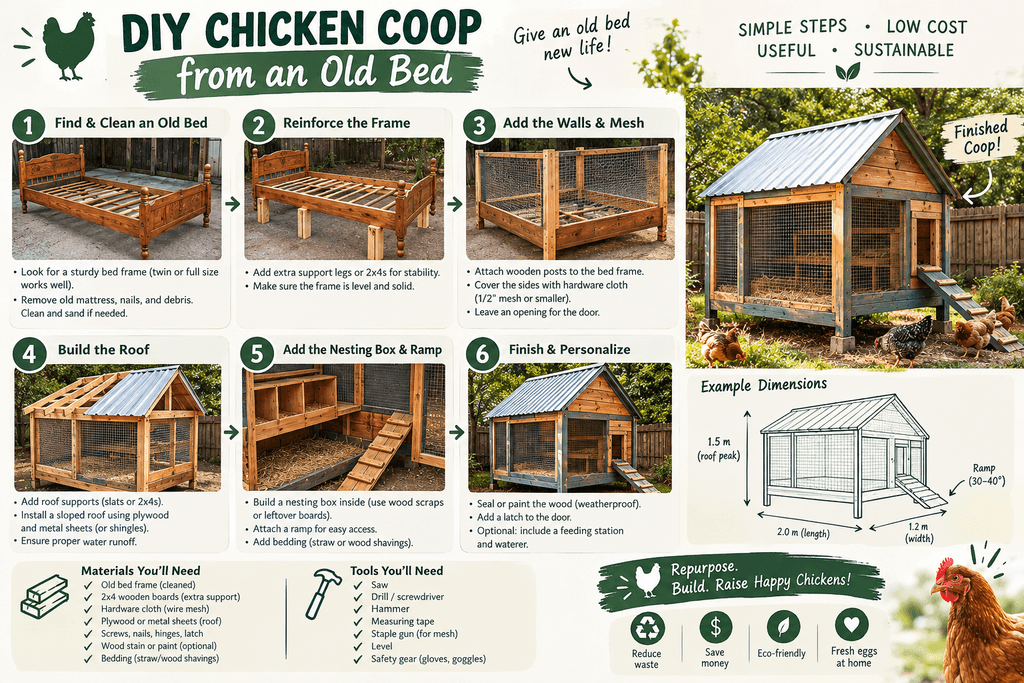
Building the Walls
For the walls, you can use new lumber or suitable reclaimed wood.
I’ve used both.
If you’re using reclaimed material, inspect every board carefully.
Don’t use wood that has been contaminated with unknown chemicals, especially if chickens will be pecking around it.
Build a basic rectangular structure around your frame.
You don’t need perfectly finished walls.
This is a chicken coop, not your living room.
But the structure needs to be solid.
I also like leaving some space for ventilation near the upper parts of the walls.
That’s important.
Ventilation Is More Important Than People Think
When I built my first chicken setup, I was more worried about keeping cold air out than letting fresh air in.
That was a mistake.
Chicken coops need good airflow.
Moisture and ammonia can build up inside a poorly ventilated coop.
But you don’t want a strong draft blowing directly across sleeping chickens either.
So think high ventilation, not “giant hole at chicken level.”
Place openings where air can move through the coop without creating a direct cold draft across the roosting area.
Cover openings with secure hardware cloth.
This is especially important because ventilation openings can become predator entry points if they’re not protected.
What About the Roof?
This is where I’d spend some of your budget if necessary.
A roof doesn’t need to be fancy, but it needs to keep rain out.
You can use suitable roofing panels, shingles, or other weather-resistant roofing material depending on your design and local conditions.
Give water somewhere to go.
You don’t want rain running directly into the doorway.
I made that mistake once.
The chickens weren’t impressed.
Neither was I when I stepped into muddy chicken bedding first thing in the morning.
A small roof overhang can help protect walls and entrances from rain.
Add a Simple Chicken Door
The chicken door doesn’t need to be complicated.
It needs to close securely.
That’s the important part.
During the day, chickens can move between the coop and run.
At night, I want them locked safely inside.
A simple hinged door can work.
Just make sure the latch is something a raccoon can’t easily figure out.
And don’t underestimate raccoons.
Those little guys are basically furry locksmiths.
Nesting Boxes Don’t Need to Be Fancy
Here’s another place where people spend too much money.
You can make nesting boxes from suitable scrap wood or reuse safe containers.
The important thing is that they’re:
- Dry
- Easy to access
- Easy to clean
- Protected from rain
- Comfortable for the hens
You don’t need a designer nesting box.
Your hen doesn’t care.
She’ll probably choose the one box you didn’t think she’d use anyway.
I learned that one quickly.
Add Roosting Space
Chickens naturally like to perch off the ground when sleeping.
Give them sturdy roosting bars.
Avoid sharp edges or splintered wood.
The roost should be stable enough that several chickens can sit on it without it wobbling.
Put it high enough to be useful but still accessible for your birds.
And don’t put the roost directly above the food or water.
Otherwise, well…
You know what happens.
Chicken poop happens.
A lot.
Make Cleaning Easy
This is something I wish I’d thought about more with my first coop.
You don’t build a chicken coop just for chickens.
You build it for yourself too.
Because you’re the person who has to clean it.
Make doors wide enough to reach inside.
Consider a removable or accessible floor area.
Keep nesting boxes easy to inspect.
Don’t create tiny corners where bedding and droppings can collect forever.
If cleaning the coop takes an hour every time, you’re going to hate cleaning it.
If it takes ten or fifteen minutes, it’s much easier to stay on top of.
That’s good backyard farming design.
What I Used for Bedding
I’ve used several bedding materials over the years.
Pine shavings are one common choice.
Straw can also be useful depending on your setup and climate.
Whatever you use, keep an eye on moisture.
Wet bedding needs attention.
A dry coop is much easier to manage.
I also keep fresh bedding available because sometimes the waterer gets knocked over.
And yes, chickens will knock over a waterer that you carefully placed in what you thought was the perfect location.
They have opinions.
Build a Run Around the Coop
The coop is only half the job.
If you’re not free-ranging your chickens, you’ll need a secure run.
This gives them space to scratch, forage, dust bathe, and move around during the day.
I like giving chickens access to soil when possible because scratching and dust bathing are natural behaviors.
But protect the run properly.
Use strong fencing.
Secure the top if aerial predators are a concern.
Think about digging predators too.
Depending on your location, you may need to bury or otherwise extend the predator barrier around the perimeter.
Local predators will determine how serious you need to get.
Can You Make the Coop Portable?
Maybe.
This depends entirely on the bed frame and your design.
A small lightweight frame can potentially become a movable chicken tractor-style setup.
That’s actually a neat idea for a backyard.
You can move the chickens onto fresh ground while allowing them to scratch and forage.
But don’t make it so heavy that moving it becomes a punishment.
I once built something “portable” that required two people and a lot of complaining.
That isn’t portable.
That’s a relocation project.
What I’d Do Differently Next Time
If I built another DIY chicken coop from old bed frame, I’d make a few changes from the beginning.
First, I’d plan the cleaning access better.
Second, I’d make the run larger.
Third, I’d spend more time thinking about ventilation.
And I’d install the predator protection before bringing the chickens anywhere near it.
That’s important.
Don’t finish the coop at 6 p.m. and think, “I’ll add the latch tomorrow.”
Tomorrow is exactly when something may get in.
Finish the security first.
Then bring the birds home.
A Few Mistakes to Avoid
Don’t use weak or badly damaged bed frames.
Don’t overcrowd chickens.
Don’t depend on chicken wire alone for predator protection.
Don’t block all ventilation because you’re worried about cold.
Don’t make the roof flat if it will collect water.
Don’t build a coop that’s impossible to clean.
Don’t forget shade during hot weather.
And don’t put food and water somewhere where rain can constantly contaminate them.
Most of these mistakes aren’t expensive to fix during construction.
They’re much more annoying afterward.
FAQ About a DIY Chicken Coop From an Old Bed Frame
Can I really use an old bed frame to build a chicken coop?
Yes, if the frame is structurally sound and suitable for your design. A bed frame can provide a useful base or foundation, but you’ll still need secure walls, ventilation, a weather-resistant roof, doors, and predator protection.
Is an old wooden bed frame better than a metal one?
Not necessarily. Both can work. A wooden frame may be easier to attach other wooden pieces to, while a metal frame can provide a strong raised base. Choose based on the condition and strength of the frame you already have.
How many chickens can I keep in a DIY coop?
That depends on the coop and run size, chicken breed, climate, and local requirements. Don’t choose the flock size first and then try to squeeze them into whatever space you built. Plan the space around the birds and give them enough room for normal behaviors.
The Best Part About Reusing an Old Bed Frame
There’s something satisfying about taking something nobody wants anymore and giving it another job.
That’s one of the reasons I enjoy homesteading so much.
You start looking at old stuff differently.
An old bucket becomes a planter.
Kitchen scraps become compost.
A fallen branch becomes a garden stake.
And an old bed frame?
Maybe it becomes a chicken coop.
The finished coop doesn’t have to look like something from a magazine. It just needs to keep your chickens dry, comfortable, ventilated, and safe from predators.
My DIY chicken coop from old bed frame wasn’t perfect, but it taught me a lot. And that’s usually how these backyard projects go.
You build something.
You notice what you got wrong.
You fix it.
Then the next version is better.
If you’ve got an old bed frame sitting around and a few chickens waiting for a home, don’t throw that frame away just yet. Take a good look at it. You might already have the beginning of a pretty useful coop sitting in your garage.
And if you build one, I’d love to hear what you used. Got a weird chicken-coop question? Leave a comment. I’ve probably made a similar mistake already.