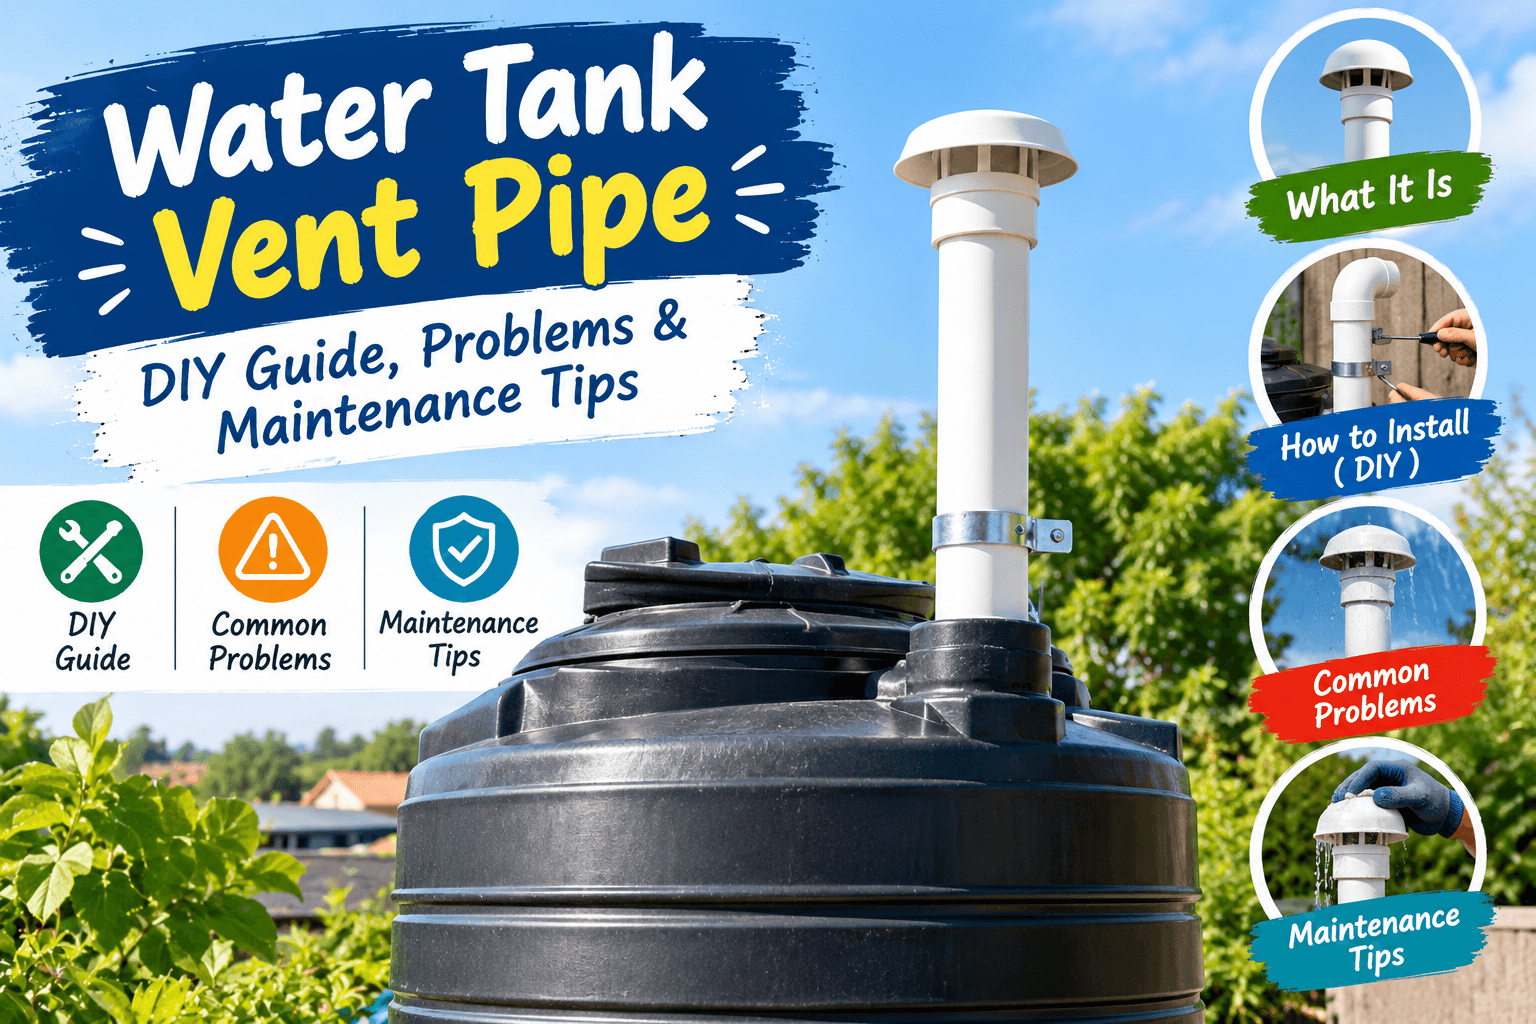
Water Tank Vent Pipe: The Little Pipe I Ignored Until It Caused Trouble
I used to think a water tank vent pipe was one of those little plumbing parts that nobody really needed to worry about. Then I had a tank that started acting strange, and yep… the little pipe suddenly became very important. If you have a rainwater tank, garden water storage, livestock tank, or an off-grid water system, let me show you what I learned the hard way.
After more than 10 years of messing around with backyard gardening, rainwater collection, food storage, chickens, compost and general homesteading projects, I’ve learned something pretty simple: the small parts are often the ones that cause the biggest headaches.
A water tank vent pipe is a good example.
It doesn’t look impressive. It’s not the part you’re going to show your neighbor when you’re bragging about your new setup. But your tank needs a way for air to move in and out as water levels change. Without proper venting, you can end up with poor water flow, pressure problems, strange noises, or even damage to the tank depending on the system.
So, What Does a Water Tank Vent Pipe Actually Do?
Think about pouring water out of a bottle. If the bottle has no way for air to get inside, the water doesn’t flow smoothly. It kind of glugs and stops.
A storage tank works on a similar basic idea.
When water leaves the tank, air needs to replace that volume. When water enters the tank, air needs somewhere to escape. The water tank vent pipe gives that air a path.
That’s the simple explanation, and honestly, it’s the part I wish somebody had explained to me when I first started building small water systems.
On my first setup, I was more worried about the pipe going to the garden than the vent on top of the tank. Big mistake. The garden pipe looked nice. The vent looked like… well, just a pipe.
Guess which one gave me trouble?
Why Your Water Tank Needs Proper Venting
There are a few reasons I take tank ventilation seriously now.
First, the tank needs to breathe as the water level changes. A closed tank can develop unwanted pressure or vacuum conditions depending on how water is entering and leaving.
Second, good venting can help water flow normally. If air can’t move properly, you may notice the system behaving differently than expected.
Third, the vent can be an opening where dirt, insects, leaves and other junk try to get inside. So it’s not enough to simply make a hole and call it done. The vent needs to be designed for the type of tank and water you’re storing.
Where Should a Water Tank Vent Pipe Go?
Usually, the vent is positioned near the top of the tank because that’s where air needs to move as the water level changes.
The exact setup depends on the tank design. Some tanks already have a built-in vent or vented lid. Others need a separate vent fitting.
If you’re installing one yourself, don’t just drill a random hole because you saw somebody do it in a backyard video. Check the manufacturer’s instructions first, especially if you’re dealing with a manufactured plastic storage tank.
I’ve learned to spend five minutes reading the instructions instead of spending two hours fixing something I messed up. Doesn’t always happen, but I’m getting better at it.
What Should the Vent Pipe Look Like?
For a basic water storage setup, you generally want the vent opening protected from rain, insects and debris while still allowing air to move freely.
A screened vent is often useful because it can stop insects and larger debris from getting into the tank. But don’t use a screen so fine or clogged that it prevents proper airflow.
The vent should also be arranged so rainwater isn’t simply being directed straight into the tank.
And here’s another thing: don’t make the vent complicated for no reason.
I’ve seen backyard projects where a simple vent turned into a maze of fittings and elbows. More parts means more places for dirt, condensation or blockages to happen.
My Biggest Water Tank Vent Pipe Mistake
Here’s the embarrassing part.
I once had a water storage setup where the flow wasn’t acting right. I checked the pump. I checked the main line. I checked the connections. I checked them again.
Then I blamed the pump.
Of course.
After messing with everything for way too long, I finally looked at the vent. It wasn’t doing its job properly.
That little problem had me chasing the wrong problem for most of the afternoon.
That’s one reason I now include the vent when I troubleshoot any tank system. Before replacing pumps or tearing apart plumbing, I check the simple stuff first.
How I Check a Water Tank Vent Pipe
Here’s my quick routine:
- Look at the vent opening. Is it blocked by leaves, dirt, insects or anything else?
- Check the screen. If there’s a protective screen, make sure it’s not packed with dust or spider webs.
- Look for water sitting inside the vent. Poor positioning can sometimes allow rain to collect where it shouldn’t.
- Check the pipe itself. Look for cracks, damage, loose fittings or anything that might restrict airflow.
- Look at the tank lid and fittings. Sometimes the problem isn’t the vent pipe at all. The lid or another fitting may be the issue.
Don’t stick random tools down inside the tank to “clean it out.” That’s a good way to create another problem.
If the tank supplies drinking water, be especially careful about anything that could contaminate the water. Use components intended for potable-water systems where required, and follow the tank manufacturer’s cleaning and maintenance instructions.
Can You Put a Screen on a Tank Vent?
In many water storage situations, some form of screened protection makes sense. It can help keep insects, leaves and other debris out while allowing air to move.
But here’s where people sometimes go wrong.
They install a tiny screen and forget about it for three years.
Then the screen gets covered with dust, pollen, spider webs and whatever else nature throws at it. Suddenly the “vent” isn’t venting very well.
Water Tank Vent Pipe Problems You Might Notice
Your tank may give you some clues when ventilation isn’t working properly.
You might notice unusual flow, strange sounds, or water moving differently than it normally does. In some systems, you may see the tank flexing or other signs of pressure or vacuum problems.
Don’t automatically assume the vent is the cause, though. Pumps, valves, filters, blocked pipes and other fittings can create similar symptoms.
That’s why I like checking things in a simple order.
- Check the water level.
- Check the main water lines.
- Check filters and valves.
- Check the pump if you have one.
- Then check the tank vent and fittings.
Sometimes the answer is ridiculously simple. Those are my favorite repairs.
Rainwater Tanks and Vent Pipes
If you’re collecting rainwater for your garden, a proper vent becomes part of the overall system rather than an afterthought.
Rainwater tanks can collect leaves, pollen, dust and other material even when you have good filtration. The tank should be protected from unnecessary contamination, and the vent should not become another easy route for debris or insects.
For garden irrigation, the requirements may be different from a drinking-water system. But either way, keeping the tank clean and properly maintained is important.
My backyard rainwater setup has taught me this: every opening eventually finds a way to collect dirt.
Nature is very good at that.
What About Off-Grid Water Tanks?
Off-grid systems deserve a little extra attention because you don’t always have a plumber standing nearby when something goes wrong.
If your tank is connected to solar-powered pumps, garden irrigation, livestock watering or an outdoor sink, make sure the whole system is designed together.
The vent isn’t something you should size or install based only on how it looks. Tank design, pipe sizes, pump operation and local plumbing requirements all matter.
And if you’re storing drinking water, don’t treat a DIY garden-water setup as automatically suitable for potable water.
Three Things I Wish I Knew Earlier
1. Small parts deserve attention
I used to focus on the big stuff. Big tank. Big pump. Big pipe.
Now I check the fittings, valves, seals and vent too. A cheap little fitting can shut down a whole project.
2. Keep the vent simple
You don’t need a fancy plumbing sculpture on top of your tank. Keep the design practical and protected, while following the tank manufacturer’s requirements.
3. Put maintenance on your calendar
This one sounds boring, I know. But every few months, take a look at the vent. Check for dirt, insects, damage and blockages.
Five minutes can save you a Saturday afternoon of frustration.
Can I Make My Own Water Tank Vent Pipe?
You can build or modify parts of a water-storage system in some situations, but I wouldn’t blindly copy a DIY design without checking the tank specifications first.
The vent needs to provide adequate airflow without creating a contamination problem. The fitting also needs to be compatible with the tank material and intended use.
For non-potable garden water, you may have more flexibility. For drinking water or a pressurized system, I’d be much more careful and would follow applicable plumbing codes and manufacturer instructions.
Water Tank Vent Pipe FAQ
Does every water tank need a vent pipe?
Not necessarily a separate pipe. Some tanks have vented lids or built-in ventilation. What matters is that the tank has appropriate ventilation for its design and use.
Can a tank vent get clogged?
Yep. Dust, insects, spider webs, leaves and other debris can block a vent. That’s why I like giving mine a quick look during regular tank maintenance.
Should a water tank vent be covered?
It generally needs protection from debris and insects while still allowing air to move freely. The exact cover or screen should be suitable for the tank and its intended use.
My Final Take
I’ll admit it: I never expected to spend this much time thinking about a little piece of pipe on top of a water tank.
But that’s homesteading for you.
You start with a garden, then you want rainwater. Then you need a tank. Then the tank needs plumbing. Then you discover that the tiny water tank vent pipe you almost ignored is actually an important part of making the whole system work properly.
My advice is simple. Keep the vent protected, keep it clear, inspect it regularly, and don’t assume every DIY setup is suitable for drinking water. When something seems wrong with your tank, check the simple things before you start replacing expensive equipment.
I’ve made enough mistakes over the years to know that lesson is worth remembering.
Got a Weird Tank Problem?
If you’re building a backyard water system and something isn’t making sense, don’t feel bad. I’ve been there more than once. Leave a comment with what you’re working on and what you’re seeing. Sometimes the smallest clue points to the real problem.