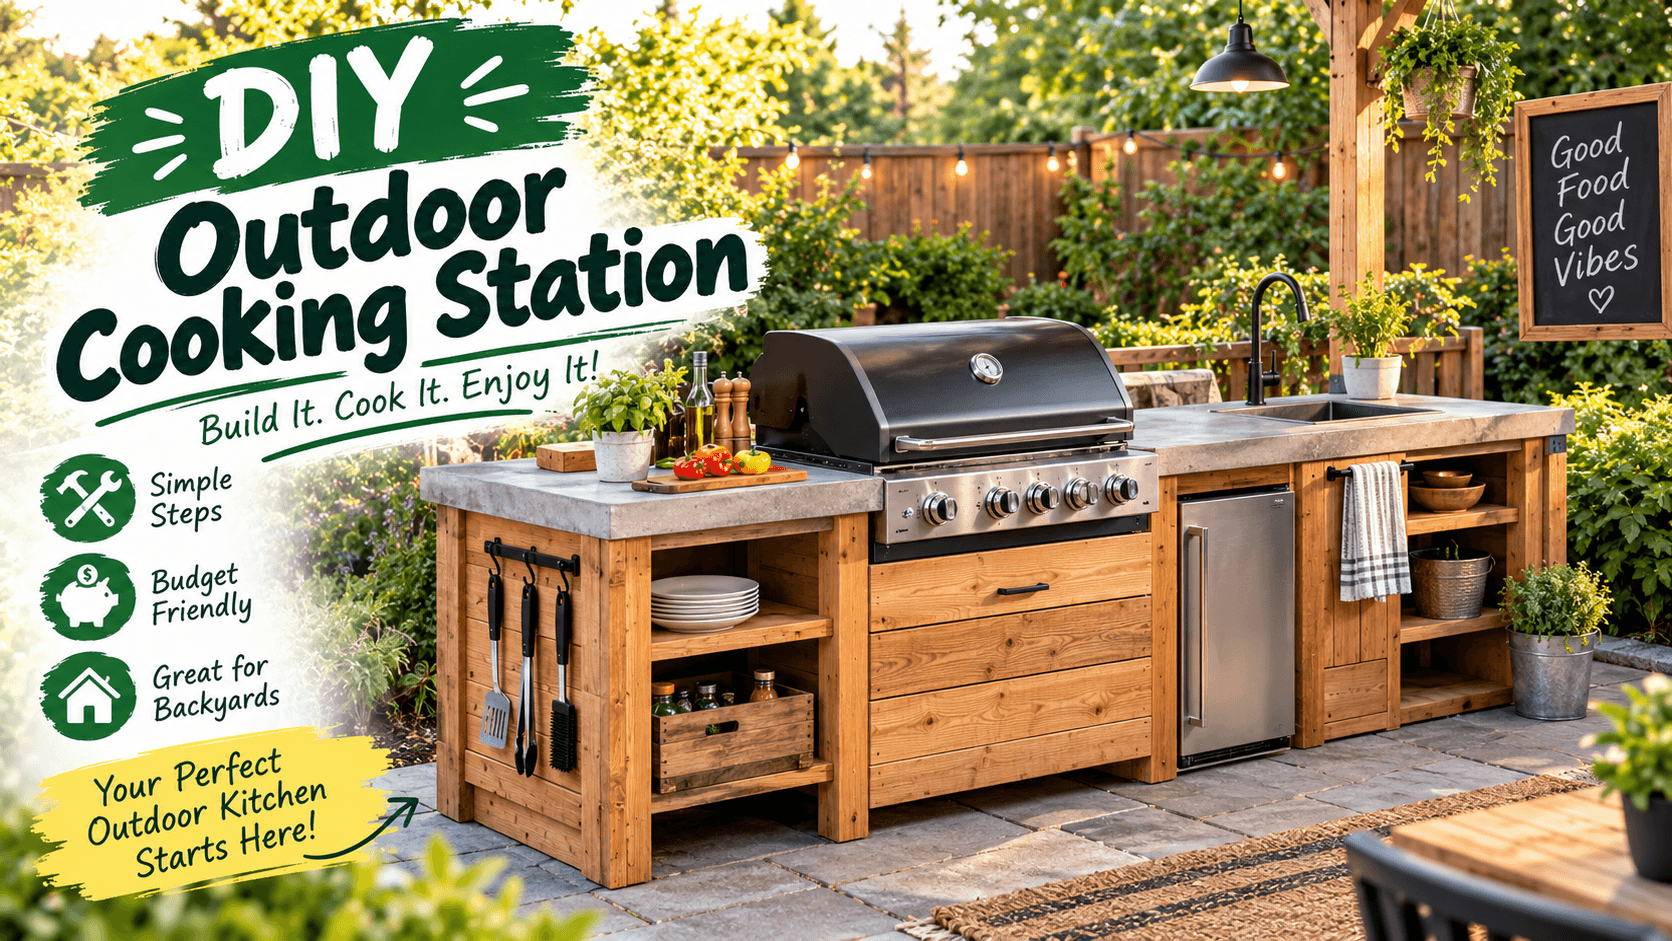
The first DIY outdoor cooking station I built was supposed to be a one-afternoon project.
You know how that goes.
I figured I’d put together a simple table, make a place for my grill, add a little storage underneath, and I’d be cooking outside by dinner.
Well… dinner happened, but not exactly on schedule.
I measured one board wrong, cut it anyway, and then spent another hour trying to figure out why everything looked crooked. My wife walked outside, looked at it, and just said, “Are you sure that’s supposed to be like that?”
No comment.
But after a few changes, I ended up with something I actually loved using. And over the years, my DIY outdoor cooking station became one of those homesteading projects I use all the time.
I don’t mean a fancy outdoor kitchen with granite countertops and a refrigerator built into the wall.
I’m talking about a practical backyard cooking area where I can grill vegetables, cook breakfast, heat a pot of beans, process garden produce, and make a big mess without making that mess inside my house.
If you’re building a backyard homestead, this is one project I’d seriously consider.
Why Build a DIY Outdoor Cooking Station?
For me, it started with summer.
I was tired of heating up the house every time I cooked something.
Then there was the garden.
When tomatoes, peppers, zucchini, cucumbers, herbs, and other vegetables started coming in, I found myself carrying dirty baskets into the kitchen, washing everything, cooking, cleaning, and then cleaning again.
I thought, why am I doing all this inside?
An outdoor cooking station gives you a place to cook right where you’re already working.
Harvest some vegetables?
Walk over and cook them.
Grill chicken while you’re working in the garden?
Easy.
Heat a big pot of water for outdoor food prep?
You’ve got a place for it.
It also fits nicely with the whole self-sufficient lifestyle. You’re using the space you already have instead of trying to make your backyard look like a fancy restaurant.
What Should a Backyard Cooking Station Include?
Here’s what I found I actually needed.
Not twenty different gadgets.
Just a few useful things.
First, I wanted a solid work surface.
Second, I needed a safe place for the cooking equipment.
Third, storage was important.
And finally, I wanted some protection from the weather.
My basic setup includes a sturdy counter, a grill or outdoor burner, shelves underneath, hooks for tools, and a little covered area.
That’s enough for most of my outdoor cooking.
You can always add things later.
That’s my favorite way to build homestead projects. Start with what you need, then let the project grow naturally.
Choosing the Right Location
This part seems boring, but don’t skip it.
I made that mistake.
I originally put my cooking station too close to the house because I wanted it convenient.
It was convenient.
Until smoke started blowing toward the windows.
Yep.
Not my finest planning moment.
Now I think about wind direction, distance from the house, access to the garden, and how easy it is to carry food and supplies back and forth.
You also want a stable, level surface.
Don’t put your cooking equipment on uneven ground where a hot pot can tip.
And check your local fire and building rules before installing anything permanent, especially if you’re using gas, charcoal, wood fire, or running electrical power outdoors.
Building the Base
For a simple DIY outdoor cooking station, you don’t need to build a complicated structure.
I like using treated lumber or another outdoor-rated material for the frame, depending on the design.
The basic idea is a strong rectangular frame with legs or a sturdy base underneath.
I always make the frame stronger than I think I need.
Why?
Because outdoor cooking equipment gets heavy.
A grill is heavy.
A full cast-iron pot is heavy.
A bucket of tomatoes is heavy.
Then you put all three on the same counter and suddenly that little backyard table is working overtime.
Use screws rated for outdoor use and make sure the whole structure doesn’t wobble.
If it moves when you push it with one hand, fix it before adding equipment.
What I Use for the Countertop
There are lots of options.
Wood is easy to work with and can look great, but it needs proper protection and maintenance.
Concrete is durable but heavier and more work to install.
Stone can look fantastic but can get expensive.
For my kind of homesteading setup, I care more about durability and usefulness than making it look perfect.
I want a surface I can wipe down.
I want enough room for cutting boards, bowls, vegetables, and hot cookware.
And I don’t want to cry if a tomato stains it.
Because eventually a tomato will stain it.
That’s just how this works.
Don’t Put the Grill Anywhere You Want
This is where safety comes first.
Your grill, stove, burner, or other heat source needs proper clearance from combustible materials.
Don’t put a hot grill directly against a wooden wall or underneath something that can catch fire.
If you’re using propane, follow the equipment manufacturer’s instructions for placement, ventilation, connections, and storage.
And never treat a propane cylinder like something you can just shove underneath the counter because it’s ugly.
Keep fuel containers stored safely according to the manufacturer’s instructions and local fire rules.
For wood fires or outdoor fireplaces, check local regulations before using them.
I know this sounds less fun than talking about building the station, but one mistake around fire can ruin the whole project.
My Favorite Part: Storage
I didn’t appreciate storage enough when I first built mine.
Now I can’t imagine the station without it.
I have space for things like:
- Cast-iron pans
- Cooking utensils
- Cutting boards
- Grill tools
- Bowls
- Pot holders
- Outdoor-safe containers
I also added hooks because hanging tools is much easier than digging through a drawer.
One of the best things about outdoor storage is keeping it simple.
Don’t store anything that shouldn’t be exposed to moisture or temperature changes.
And don’t leave food sitting outside where animals can get into it.
My backyard chickens have taught me that lesson several times.
If something looks remotely edible, Betty will investigate it.
Add a Roof or Simple Cover?
If you can, yes.
A roof makes a huge difference.
I don’t need a fancy structure. Even a simple covered area can protect you from sun and light rain.
There’s something pretty nice about cooking outside while it’s raining lightly.
Heavy rain?
Not so much.
A roof also helps protect the countertop and cooking equipment from weather.
But again, make sure the roof and surrounding materials are appropriate for the cooking equipment you’re using. Don’t build an enclosed wooden box around a grill and assume everything will be fine.
Heat and smoke need somewhere to go.
Add a Sink?
This one is optional.
I like the idea of an outdoor sink, especially when you’re harvesting vegetables and cooking right away.
But plumbing can turn a simple DIY project into a much bigger one.
If you’re not comfortable with plumbing, don’t start cutting pipes just because you watched three videos online.
Ask me how I know.
For a basic setup, I often use a large clean water container and a wash basin for simple outdoor cleanup.
If you install a permanent sink, think about where the wastewater goes and whether local rules allow the setup.
Don’t just dump greasy cooking water onto your garden.
Your plants don’t need a bacon-flavored swamp.
Electricity Can Be Useful
An outdoor outlet can be handy for lights, small appliances, or other equipment.
But electricity and outdoor moisture are a serious combination.
Use outdoor-rated electrical equipment and have permanent wiring installed properly. Ground-fault protection is important for outdoor receptacles.
I’m not the guy who’s going to tell you to run some random extension cord through a puddle because “it’ll probably be fine.”
Nope.
If you aren’t comfortable with electrical work, get somebody qualified to do the permanent installation.
Your outdoor kitchen isn’t worth getting hurt over.
Lighting Makes Night Cooking Much Easier
I didn’t think I needed lighting.
Then one evening I was trying to see whether a chicken breast was cooked while standing there with a flashlight between my teeth.
Not recommended.
A simple outdoor-rated light makes cooking at night much easier.
I prefer light over the main work surface so I can see what I’m doing.
You don’t need stadium lighting.
Just enough to see your knife, food, cookware, and hands clearly.
How I Use My Cooking Station During Garden Season
This is where the station really earns its place.
During tomato season, I might harvest a basket of tomatoes in the morning and bring them directly over.
Some get eaten fresh.
Some go inside for preservation.
Others might get cooked down outside.
When zucchini starts going crazy, I grill it.
Peppers?
Straight onto the grill.
Corn?
You already know.
Sometimes I’ll cook a big pot of beans or stew outside while I’m doing other work around the backyard.
That’s what I like about it.
Cooking becomes part of the garden routine instead of a separate chore.
Don’t Forget the Compost Bucket
This sounds silly, but it’s useful.
Keep a small container nearby for vegetable scraps.
When I’m chopping tomatoes, onions, peppers, or herbs, the scraps go into the compost bucket.
Then I take it over to the compost area.
Just be careful about putting cooked food, meat, oils, or other items into your compost unless your composting system is designed to handle them.
For basic garden scraps, it’s an easy little routine.
Harvest.
Cook.
Save what you can.
Compost what belongs in the compost.
That’s homesteading in a nutshell.
Three Things I’d Change on My First Build
If I could rebuild my first DIY outdoor cooking station, I’d do three things differently.
I’d make the counter deeper.
I’d add more storage.
And I’d plan the roof before building the counter.
I also would’ve measured twice.
Actually, I should’ve measured three times.
That crooked board still bothers me.
But that’s the funny thing about DIY homesteading projects. They don’t have to look like they came from a magazine.
They need to work.
Quick FAQ
Can I build a DIY outdoor cooking station on a small backyard?
Absolutely. You can build a narrow counter with a small grill and a little storage underneath. A small urban backyard doesn’t need a huge outdoor kitchen.
What’s the cheapest way to build an outdoor cooking station?
Start with a simple sturdy frame, an outdoor-safe countertop, and the cooking equipment you already own. Add shelves, hooks, lighting, and other features later.
Don’t spend money on features you won’t use.
Can I use a propane grill in an outdoor cooking station?
Yes, but follow the grill manufacturer’s instructions for safe placement, clearance, ventilation, propane-cylinder handling, and operation. Never enclose a grill or burner in a way that traps heat or combustion gases.
Is It Worth Building?
For me, absolutely.
My DIY outdoor cooking station started as a crooked little table because I wanted to cook tomatoes outside.
Now it’s one of the busiest spots in my backyard.
I use it for garden harvests, weekend meals, grilling, cast-iron cooking, and those evenings when nobody wants to sit inside.
And you don’t need a giant budget to make one.
Start with a good work surface.
Make it stable.
Give your cooking equipment plenty of safe space.
Add storage.
Think about weather.
Then use it.
That’s really the whole idea.
Don’t wait until you have the perfect backyard or enough money for a fancy outdoor kitchen. Build something simple that makes your daily life easier. That’s what a DIY outdoor cooking station should do.
And if the first board ends up crooked?
Welcome to DIY homesteading.
Trust me, I’ve been there.