Water is one of those things you don’t really think about until it tastes funny, looks cloudy, or you’re standing there with an empty jug wondering what the heck you’re gonna do next. Over the years of homesteading, I’ve learned that having a simple backup water filtration setup is worth the little bit of work it takes. That’s why I started looking into how to build a 4-step water filter system for cleaner water using basic, easy-to-find parts.
Now, before we get too far, I want to make one thing very clear. A homemade filter can make water look and taste cleaner, and some filtration methods can reduce certain contaminants, but you should never assume a DIY filter makes unsafe water automatically safe to drink.
I learned this lesson early.
I once filtered some very cloudy water through a homemade setup and thought, “Well, that looks pretty good now.” It was clear as glass. But clear water doesn’t necessarily mean safe water. That little mistake changed how I approach water filtration completely.
So let me show you the simple four-stage setup I use as a starting point, what each stage does, and where a homemade filter has limitations.
Why I Wanted a 4-Step Water Filter System
When you’re working around a homestead, water can come from all kinds of places.
Maybe you’re collecting rainwater. Maybe you have well water. Perhaps you’re storing emergency water or using water from a source that has a lot of sediment.
Even city water can have an unpleasant taste sometimes.
The problem is that one filter usually doesn’t do everything.
A sediment filter is great for dirt and particles, but it doesn’t solve every water-quality problem. Activated carbon can improve taste and reduce some chemicals, but it isn’t a magic sponge for everything either.
That’s where a 4-step water filter system makes more sense.
Instead of asking one filter to do all the work, you give each stage a specific job.
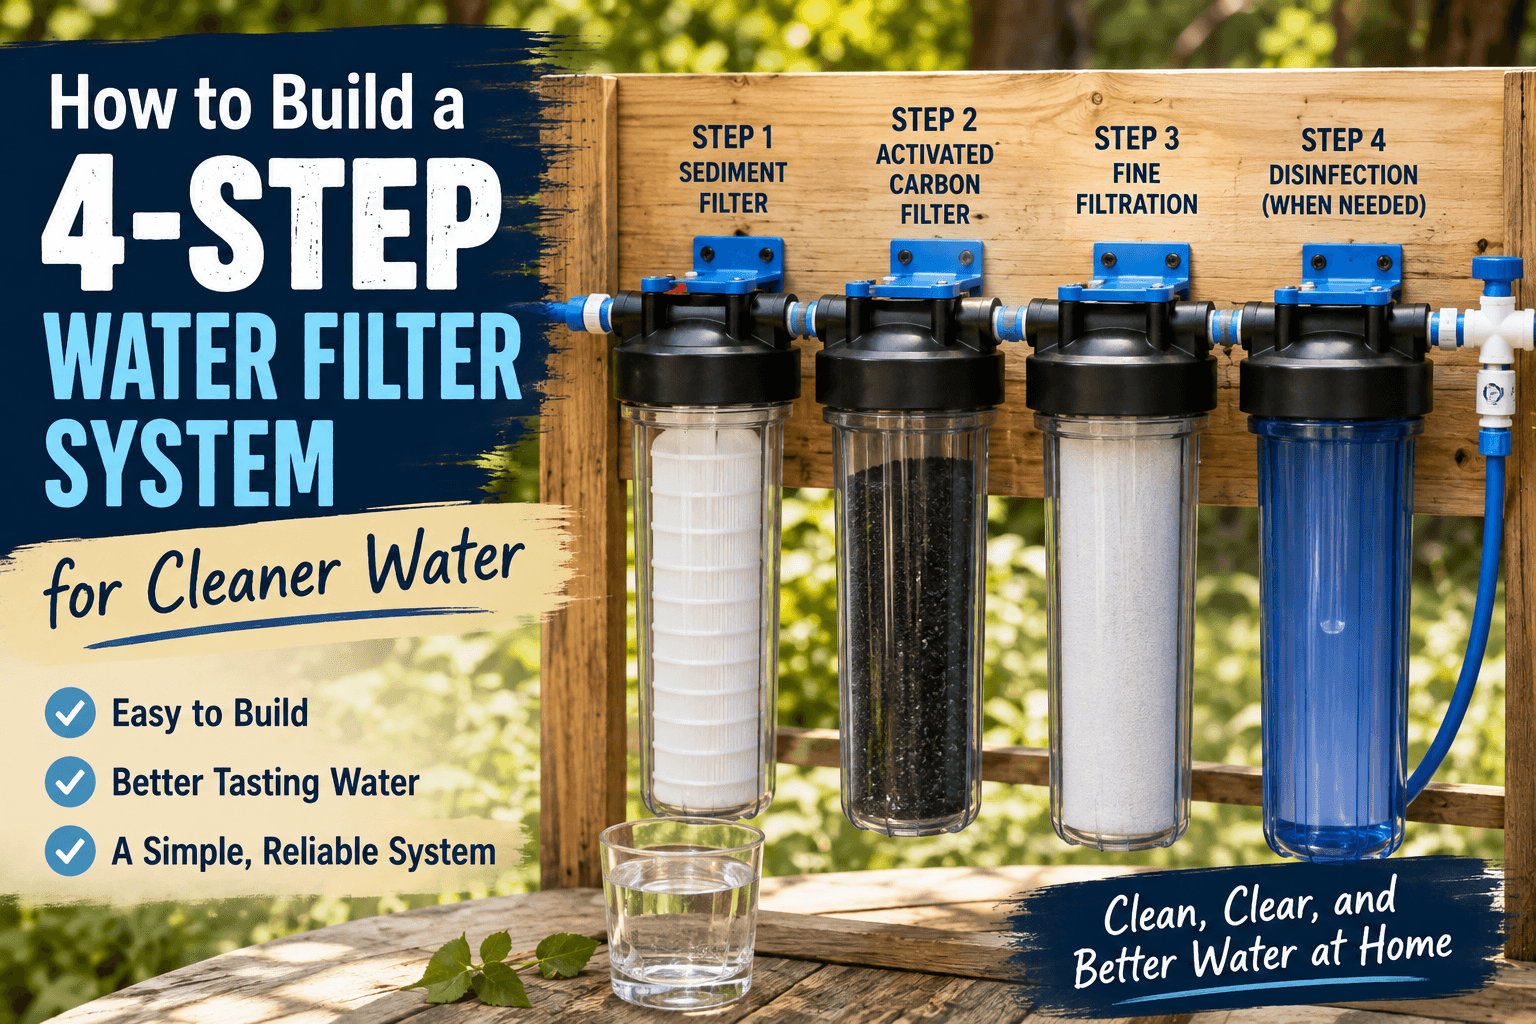
Here’s the basic idea:
- Sediment filtration
- Activated carbon filtration
- Fine filtration
- Final treatment/disinfection when needed
The first three stages are mainly about removing particles and improving water quality. The fourth stage is where you deal with microorganisms when the original water source may not be microbiologically safe.
And that last part is important.
Step 1: Start With a Good Sediment Filter
The first stage is the boring one, but don’t skip it.
I use sediment filtration first because I don’t want dirt, sand, rust, or other visible particles clogging up everything that comes after it.
Think of it like sweeping your kitchen floor before mopping it.
You could mop first, but you’re just making a bigger mess.
For a basic DIY system, you can use a commercially manufactured sediment filter cartridge designed for drinking-water applications. A typical setup places this filter at the beginning of the line.
Depending on your water source, you might need a coarse filter first and a finer sediment filter afterward.
For example, rainwater collected from a roof can carry:
- Dirt
- Dust
- Tiny leaves
- Roofing debris
- Insects
- Fine sediment
I’ve had more than one filter get clogged faster than expected because I didn’t deal with the dirt first.
That’s when you learn to appreciate the boring stuff.
My little trick for keeping sediment under control
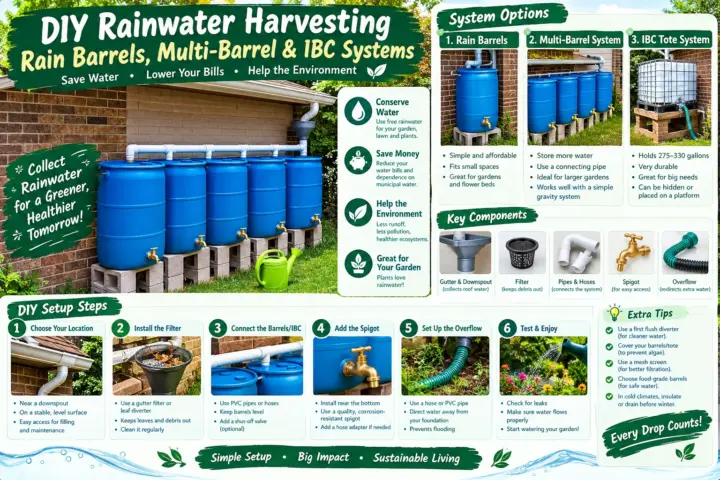
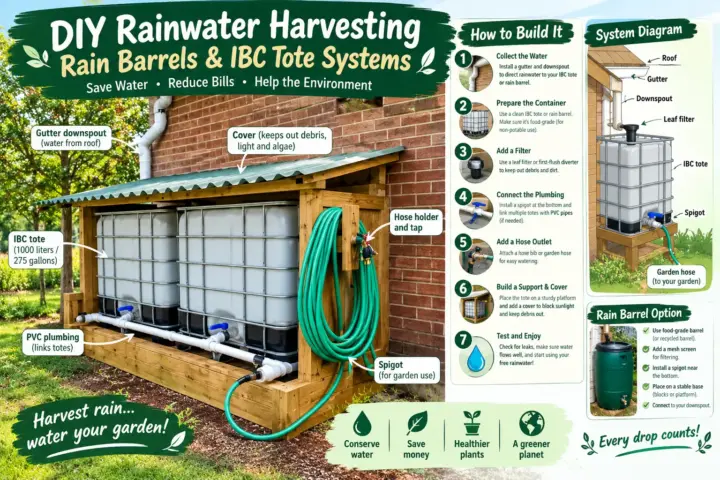
If you’re collecting rainwater, put a proper screen or debris filter before your main filtration system.
You want to catch leaves and larger junk before it reaches your cartridges.
And clean your collection system regularly.
A filter isn’t supposed to be your only line of defense.
Step 2: Add Activated Carbon
This is probably the stage people notice the most because activated carbon can make a big difference in taste and odor.
After the sediment filter, water can pass through an activated carbon filter.
Carbon filtration can reduce certain chemicals and unpleasant tastes and odors, depending on the type and quality of the carbon filter.
This is where water can start tasting much better.
I remember the first time I ran some water through a decent carbon filter. I took a sip and immediately noticed the difference.
But here’s where I made another mistake.
I assumed that because the water tasted better, it must have been safer.
Nope.
Taste is not a water-quality test.
That’s something worth remembering whether you’re living on an acreage or in a tiny apartment.
Don’t let the carbon filter become disgusting
Carbon filters need to be replaced according to the manufacturer’s instructions and the conditions of your water.
If you keep using an old cartridge long after it should have been replaced, you’re defeating the purpose of the system.
I’d rather spend money on a replacement filter than gamble with questionable water.
Step 3: Use a Fine Filter
The third stage is where we get into finer filtration.
A fine filter can capture smaller particles that made it through the earlier stages.
This might be a fine sediment cartridge or another certified filtration component designed for the contaminants you’re trying to address.
The exact filter you choose depends heavily on your water source.
And that’s something DIY water-filter articles sometimes gloss over.
There is no universal filter that removes everything.
If you’re dealing with well water, for example, your concerns may be completely different from someone collecting rainwater.
If you have a private well, testing the water is a much better starting point than simply buying random filters.
Don’t build the whole system before testing your water
This is one of the biggest lessons I’ve learned.
Test first.
If you don’t know what’s in your water, you don’t really know what your filter needs to remove.
You might spend $100 or $200 building a fancy system when the actual problem is something completely different.
And trust me, I’ve wasted enough money on homestead projects already.
My garden experiments alone could fill a notebook.
Step 4: Add a Safe Final Treatment
Now we get to the part I don’t want people to ignore.
If the source water might contain harmful microorganisms, filtration alone may not be enough.
Depending on the situation, a final treatment method such as UV disinfection, boiling, or another appropriate water-treatment method may be necessary.
The correct method depends on the source and the contaminants involved.
For emergency situations, boiling can be a reliable way to kill many disease-causing microorganisms when done correctly, but it does not remove chemicals, heavy metals, or other contaminants.
UV systems can also be useful, but they require electricity and water that is clear enough for the UV light to work properly.
So don’t think of stage four as simply another filter cartridge.
It’s really about making sure the water is appropriate for its intended use.
How I Would Build the Four Stages
If I were setting up a system from scratch today, I’d keep the layout simple.
The basic flow would look something like this:
Water source → sediment filter → activated carbon → fine filter → final treatment → clean storage
That’s it.
No need to make it look like a NASA project.
Use food-safe components intended for potable water, proper tubing, secure fittings, and filters that are rated for the job you’re asking them to do.
If you’re building something for actual drinking water, I’d strongly favor commercially certified drinking-water components rather than random buckets and plumbing parts from the garage.
I’ve built enough DIY stuff to know that “I found this in my shed” isn’t always a good engineering strategy.
What About a DIY Bucket Water Filter?
You’ll find plenty of homemade bucket filters online using gravel, sand, charcoal, cloth, and other materials.
These can be useful for demonstrations, emergency pre-filtration, or reducing visible sediment.
But I would be very careful about treating one as a complete drinking-water purification system.
A bucket full of sand and charcoal might produce beautifully clear water.
That doesn’t prove the water is microbiologically safe.
And that’s one of the most dangerous misunderstandings about homemade water filters.
Clear water isn’t necessarily clean water.
You can have water that looks fantastic and still contains contaminants you can’t see, smell, or taste.
Where I Use a Water Filter System Around the Homestead
I don’t think every water source needs the exact same setup.
For example, if I’m using water for the garden, I don’t necessarily need the same treatment I’d want for drinking water.
Water used for washing tools is another story.
Drinking and cooking water deserves the most attention.
Here are a few situations where a filtration setup can be useful:
- Rainwater collection
- Well-water treatment
- Emergency water storage
- Improving unpleasant water taste
- Removing sediment from water
- Outdoor and off-grid setups
- Backup water systems
For my own homesteading projects, I like having redundancy.
If the power goes out, I don’t want my entire water plan to disappear with it.
My Biggest Mistake With Water Filtration
Here’s the embarrassing part.
At one point I spent more time thinking about the filter itself than the water source.
I was comparing cartridges, fittings, housings and flow rates.
Meanwhile, I hadn’t properly answered the most important question:
What exactly am I trying to remove?
That’s backwards.
Start with the water.
Get it tested when appropriate.
Understand the problem.
Then choose the filtration or treatment method that actually addresses it.
It sounds obvious now, but sometimes you need to waste a little money before the lesson sticks.
How Often Should You Change the Filters?
There’s no single answer.
Filter life depends on:
- Water quality
- Amount of water used
- Filter type
- Manufacturer specifications
- Sediment levels
- Maintenance
A filter handling very dirty well water might clog much faster than one treating already-clean municipal water.
Watch for reduced flow, changes in taste or odor, and the replacement schedule provided by the manufacturer.
And don’t wait until the filter looks absolutely disgusting.
That’s not a maintenance plan.
That’s a cry for help.
Three Things I’d Do Differently Today
After years of messing around with water systems, these are my top three tips.
1. Test the water first
This can save you money and frustration.
You can’t choose the right treatment if you don’t understand the problem.
2. Protect the filters
Keep large debris and sediment out of your expensive cartridges.
A simple pre-filter or screen can make a big difference.
3. Don’t confuse filtration with disinfection
This is probably the most important one.
Some filters remove particles.
Some reduce specific chemicals.
Some systems disinfect.
They aren’t all doing the same job.
If you have water that may contain disease-causing microorganisms, make sure your treatment method is actually designed for that problem.
FAQ: Questions I Get About 4-Step Water Filters
Can I make a 4-step water filter completely from household materials?
You can make simple DIY filtration systems from household materials, but I wouldn’t automatically use one for drinking water.
For potable water, I’d use components specifically designed and rated for drinking-water treatment.
Does a four-stage filter make any water safe to drink?
No.
The number of stages doesn’t automatically determine safety.
The right treatment depends on what’s in the water. A four-stage system can still fail to remove a contaminant it wasn’t designed to handle.
Can I use a water filter for rainwater?
Yes, rainwater can be treated for various household uses, but the system needs to be designed around the collection method and intended use. Rainwater can pick up contaminants from roofs, gutters, storage tanks, and the surrounding environment.
For drinking water, use an appropriate treatment system and follow local health guidance.
Final Thoughts From My Backyard
After more than ten years of homesteading, I’ve learned that simple systems usually work better than complicated ones.
That’s why I like the basic idea behind how to build a 4-step water filter system for cleaner water. You start with sediment removal, improve the water with activated carbon, add finer filtration, and then use an appropriate final treatment when disinfection is needed.
But don’t build a filter just because it looks cool in a YouTube video.
Start with your water source.
Know what you’re dealing with.
And don’t take chances with drinking water just because it looks clear.
I’ve made plenty of mistakes around the homestead, and water is one area where I’d rather learn from somebody else’s mistake.
If you’re building a setup for your backyard, rainwater collection system, well, or off-grid homestead, take your time and build it right. A simple system that you understand and maintain is worth a whole lot more than a complicated one you forget about after two weeks.
And if you get stuck, just ask. I’ve messed up plenty of projects myself.