Outdoor Kitchen Shelter Plans. The first time I cooked a full meal outside, I thought I had everything figured out.
Grill? Check.
Table? Check.
Cooler? Check.
Cold drink? Very important, check.
Then it started raining.
Not a little rain either. It came down hard, right when I had food cooking and a pan of vegetables sitting on the table. I tried holding an umbrella over the grill with one hand while turning food with the other.
It looked ridiculous.
And that’s when I started thinking seriously about outdoor kitchen shelter plans.
After years of backyard projects, gardening, cooking outside, and generally learning things the hard way, I’ve realized an outdoor kitchen doesn’t need to be fancy. It just needs a good roof, decent airflow, a place to work, and enough protection that you aren’t running inside every time the weather changes.
If you’re planning an outdoor kitchen for your backyard homestead, here’s what I’d do differently now.
Why Build a Outdoor Kitchen Shelter Plans?
A roof changes everything.
Without one, your outdoor kitchen is basically a fair-weather kitchen.
With a good shelter, you can cook outside during light rain, stay protected from strong sun, and make the space useful for much more of the year.
I also like having a covered area because it becomes more than just a cooking spot.
Mine would be used for:
- Preparing vegetables from the garden
- Cleaning freshly harvested produce
- Cooking meals
- Canning and food prep when appropriate
- Eating outside
- Storing frequently used cooking supplies
- Processing herbs
- Having coffee while pretending I’m going to start work
That last one happens a lot.
For a homesteading setup, a sheltered outdoor kitchen can become a really useful working area.
My Favorite Simple Outdoor Kitchen Shelter Plan
If I were starting from scratch today, I wouldn’t build a giant outdoor kitchen right away.
I’d start with a simple roofed structure attached to or positioned near the house, depending on the property and local rules.
Think of it like a covered patio with a kitchen underneath.
The basic layout I’d use is:
Roof → cooking area → counter/prep space → storage → small eating area
You don’t need all of these in one straight line, either.
An L-shaped layout can work really well if you have enough room.
The important thing is leaving enough space to move around.
I made the mistake once of building a work area that looked perfect on paper.
Then I put a table in it.
Then a grill.
Then a storage box.
Suddenly I had to turn sideways just to walk through.
Paper doesn’t bump your hip into a table.
Real life does.
Start With the Roof For build Outdoor Kitchen Shelter Plans
The roof is the most important part of your shelter.
Don’t spend most of your budget on countertops and fancy appliances while treating the roof like an afterthought.
I’ve cooked outside under a cheap temporary cover before, and let’s just say I learned how much wind can move something that looked perfectly secure.
Your shelter needs to handle the weather conditions common where you live.
That means thinking about:
- Rain
- Snow
- Wind
- Strong sunlight
- Drainage
- Roof runoff
- Local building requirements
A simple sloped roof is often easier to deal with than a completely flat roof.
You want rainwater moving away from your cooking and working area.
And please don’t let roof water dump directly where you’re walking.
I learned that one too.
Three Outdoor Kitchen Shelter Ideas I’d Consider
There are plenty of ways to build a shelter, but these are the three styles I’d look at first.
1. Simple Lean-To Shelter
This is probably my favorite for a beginner.
A lean-to roof slopes away from a wall or higher support.
It’s relatively simple, doesn’t require a huge structure, and can fit nicely beside a house, garage, shed, or another suitable structure.
It works especially well for a narrow backyard.
Just make sure the structure is properly designed and attached. Don’t assume a wall or fence can safely support a roof without checking how it was built.
2. Freestanding Pergola-Style Kitchen
A freestanding shelter gives you more flexibility.
You can place the kitchen wherever it makes sense in the backyard.
For example, maybe you want it near the garden rather than right beside the house.
I like this arrangement for a homestead because you can create a little outdoor working zone.
Garden on one side.
Compost area nearby.
Kitchen in the middle.
Dining table under the roof.
Chickens far enough away that they don’t think they’re invited to dinner.
That’s the dream.
Just remember that a decorative pergola isn’t automatically suitable for cooking or for supporting a weatherproof roof. The structure needs to be designed for the actual loads and materials you’re using.
3. Covered Patio Kitchen
If you already have a covered patio, you’re halfway there.
This is probably the easiest option.
You can add a grill or other appropriate outdoor cooking appliance, weather-resistant counters, storage, lighting, and seating.
Before adding anything, think about ventilation and fire safety.
Don’t put grills, smokers, or other heat-producing equipment directly underneath materials that aren’t designed for that environment.
Where Should the Grill Go?
This is one of those decisions that seems simple until you actually start using the kitchen.
I like keeping the cooking area toward one side of the shelter instead of putting the grill directly in the middle.
That leaves more room for food prep and movement.
Also think about smoke.
You don’t want smoke blowing straight into the house every time the wind changes.
And you definitely don’t want your outdoor kitchen positioned where smoke constantly bothers your neighbors.
Especially in an urban backyard.
Before building, watch the wind around your property.
Spend a few minutes outside.
Notice where smoke from an existing grill tends to travel.
That little observation can save you a lot of headaches.
Don’t Forget About Ventilation
A roof keeps rain out.
It can also trap smoke and heat if the sides are enclosed too much.
That’s why I prefer an outdoor kitchen shelter that stays open on at least some sides.
Good airflow makes a huge difference.
If you’re using a grill, smoker, wood-fired oven, propane appliance, or other combustion equipment, follow the manufacturer’s clearance and ventilation requirements.
Don’t turn your outdoor kitchen into a little sealed room.
That’s not the kind of DIY experiment I want to repeat.
How Big Should an Outdoor Kitchen Shelter Be?
This depends on your space, but I wouldn’t make it tiny.
You need room for more than the grill.
Think about where you’re going to stand.
Then imagine opening a cabinet.
Now imagine somebody walking behind you.
Now imagine carrying a hot pan.
That’s when you discover why extra space matters.
A compact shelter might only need room for cooking and prep.
A larger backyard setup could include:
- Grill or cooking station
- Prep counter
- Sink
- Refrigerator or cooler
- Storage cabinets
- Dining table
- Chairs
- Garden produce washing area
Don’t add everything just because you can.
Every extra appliance creates more cleaning, maintenance, wiring, plumbing, and cost.
Sometimes simple is better.
My Outdoor Kitchen Countertop Lesson
I once thought a cheap wooden work surface would be fine.
It looked great.
For about five minutes.
Then it got wet.
Then dirty.
Then I started cutting vegetables on it.
Then I realized how annoying it was to keep clean.
For outdoor kitchens, I prefer durable surfaces that can handle moisture, temperature changes, and regular cleaning.
Depending on your budget and design, outdoor-rated materials such as appropriate tile, stone, concrete, or other weather-resistant surfaces may make more sense.
Don’t choose a countertop only because it looks good in a picture.
You’re going to use it.
A lot.
Add Storage, But Keep It Practical
One thing I really like about an outdoor kitchen is not having to carry everything from the house every single time.
A little storage goes a long way.
I would keep frequently used things outside, such as:
- Cooking utensils
- Plates and cups
- Grill tools
- Outdoor cookware
- Garden harvest baskets
- Cleaning supplies
- Non-perishable ingredients
But I wouldn’t store food outside without considering heat, moisture, insects, rodents, and other pests.
And anything that needs refrigeration should be kept at safe temperatures in a suitable refrigerator or cooler.
The outdoor kitchen is not a magical food-storage zone.
I learned that after finding something in a storage box that I really wish I hadn’t found.
We’re not discussing it.
What About Water?
A sink would be fantastic.
But plumbing can turn a simple project into a much bigger project.
If you’re building a permanent outdoor kitchen, think about where clean water comes from and where wastewater goes.
Don’t just dump dirty kitchen water onto the ground.
Depending on your location and setup, you’ll need an appropriate drainage or wastewater solution that complies with local requirements.
For a simple setup, I might start without a permanent sink.
A portable handwashing station or suitable water container can be much easier.
Then add plumbing later if the kitchen proves useful enough to justify it.
That’s another lesson I’ve learned:
Build what you actually need, then expand.
Lighting Makes the Kitchen Much Better
You don’t realize how important lighting is until you’re trying to cook dinner after sunset.
I’ve stood outside holding my phone flashlight over a cutting board.
Not ideal.
Install proper outdoor-rated lighting designed for the location.
I like having:
- General overhead lighting
- Focused light over the prep counter
- Light near the cooking area
- A little softer lighting around the eating area
If you’re interested in off-grid living, a properly designed solar/battery system can also be part of the plan.
But don’t improvise outdoor electrical wiring.
Use weather-rated equipment and have electrical work installed or inspected by someone qualified where required.
Electricity and rain aren’t two things I like experimenting with.
Rainwater From the Roof
Here’s another homesteading idea.
The shelter roof can potentially collect rainwater.
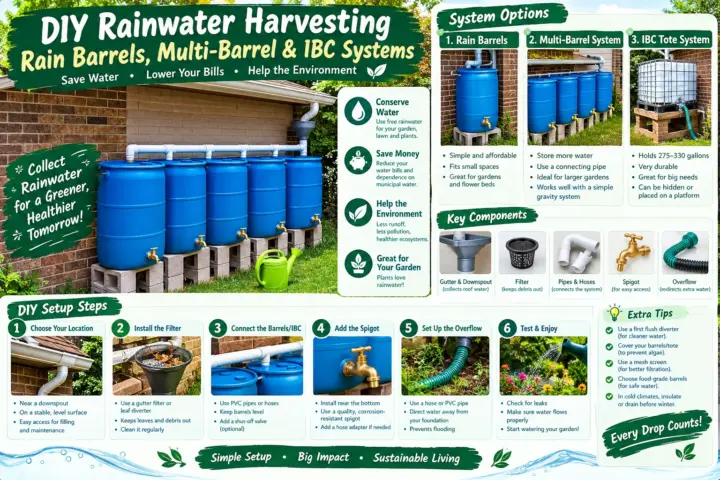
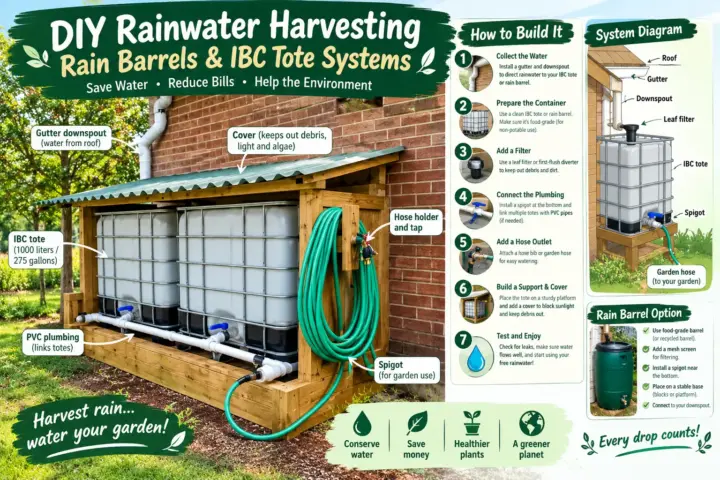
If you’re already using rain barrels or a rainwater harvesting system, the roof gives you another collection surface.
But don’t assume collected rainwater is automatically safe to drink.
For gardening, irrigation, or other appropriate non-potable uses, rainwater collection can be useful depending on your local rules and system.
If you want potable water, that’s a completely different level of filtration, treatment, testing, and safety.
Keep that distinction clear.
Should You Enclose the Outdoor Kitchen?
Usually, I wouldn’t fully enclose it.
The whole point is outdoor cooking.
I prefer a roof with open sides or partial walls.
You can add a windbreak or privacy screen where needed.
But too many walls can trap smoke and heat.
And if you’re in an urban neighborhood, an open design can make the kitchen feel less bulky and more like part of the backyard.
A simple roof, sturdy posts, and good airflow can be enough.
My Biggest Outdoor Kitchen Mistakes
If you’re planning your own outdoor kitchen shelter, here’s what I’d avoid.
Don’t build before checking local permits and setback rules.
Some structures may require permits or have restrictions based on property lines, size, height, utilities, fire safety, or location.
Don’t put the grill wherever it looks good.
Think about smoke and wind.
Don’t make the walkway too narrow.
Hot pans and narrow walkways don’t mix.
Don’t forget drainage.
Roof runoff needs somewhere to go.
Don’t use indoor materials outdoors without checking their suitability.
Weather destroys things.
Fast.
Don’t ignore fire safety.
Keep cooking equipment away from combustible materials and follow the appliance manufacturer’s requirements.
Don’t make it bigger than you can maintain.
A giant outdoor kitchen sounds cool until you’re cleaning it.
A Simple Outdoor Kitchen Shelter Checklist
Before I started building anything today, I’d grab a piece of paper and write down:
- Where does the sun hit in the afternoon?
- Which direction does rain usually come from?
- Where does the wind blow smoke?
- Where will rainwater drain?
- Where are gas, electrical, and water lines?
- How far is the kitchen from the house?
- How much counter space do I really need?
- Where will cooking equipment sit?
- Where will people walk?
- Where will food be stored?
- What does my local building code allow?
Then I’d mark the space on the ground with stakes.
Walk around it.
Put a cardboard box where the grill will go.
Put another where the counter will be.
Pretend you’re cooking.
This sounds silly.
It isn’t.
You’ll notice problems before spending money.
The Outdoor Kitchen I Would Build Today
If I were building another backyard kitchen tomorrow, I’d keep it simple.
A sturdy weather-resistant roof.
Open sides for airflow.
One good cooking station.
A long prep counter.
A small amount of storage.
Good lighting.
A safe water solution.
A place to sit.
And plenty of room to move.
I’d also put it somewhere close enough to the garden that carrying vegetables inside isn’t a chore.
That’s the homesteading connection I like most.
Imagine walking out to the garden, picking tomatoes, peppers, onions, herbs, and cucumbers, then bringing them straight to the outdoor kitchen.
No driving to the store.
No fancy setup.
Just food growing in your backyard and a place to cook it.
That’s pretty satisfying.
Frequently Asked Questions About Outdoor Kitchen Shelter Plans
What is the cheapest way to shelter an outdoor kitchen?
A simple roofed structure, such as a properly designed lean-to or covered patio, can be less expensive than a fully enclosed outdoor kitchen. Start with the shelter and cooking area, then add storage and other features later.
Can I put a grill under an outdoor kitchen roof?
It depends on the grill, roof, materials, and design. Follow the manufacturer’s required clearances and ventilation instructions. Never assume that any roof is automatically safe above a grill or other cooking appliance.
Does an Outdoor Kitchen Shelter Plans need a sink?
No. A sink is convenient, but it isn’t required for every backyard kitchen. A simple setup can start with appropriate water and handwashing arrangements, while permanent plumbing can be added later if practical and permitted.
Final Thoughts From My Backyard
The best outdoor kitchen shelter plans aren’t necessarily the ones with the biggest countertops, most expensive appliances, or the fanciest cabinets.
For me, it’s about making outdoor cooking easier.
I want a roof when it rains.
Shade when the sun is beating down.
A decent place to chop vegetables.
A safe place to cook.
And enough room that I don’t trip over something every time I turn around.
After all these years of backyard gardening and homesteading, I’ve learned to build for real life, not for the picture.
Start small if you need to.
Use what you already have.
Leave room to improve it later.
And please, check your local building and fire requirements before putting up a permanent structure. A good outdoor kitchen shelter plan should keep you comfortable, but it also needs to be safe.
If you build one, tell me what you’re planning. And if you make a mistake, don’t worry too much.
I’ve made plenty.
That’s how most of us learn.