Home-canned baked beans can be a useful pantry staple, but beans are not a food to improvise with when canning. Dried beans are low-acid foods, so safe shelf-stable preservation requires a pressure canner and a research-tested recipe.
That means you should not take an ordinary baked-bean recipe, fill jars with it, and guess a processing time. Sugar, molasses, tomato products, meat, onion, bean density, jar size, and preparation method can all affect how heat moves through the jar.
Quick answer
Use a tested USDA/NCHFP baked-bean recipe, rehydrate the beans before canning, leave 1 inch of headspace, and process in a pressure canner. The tested process is 65 minutes for pints and 75 minutes for quarts, with pressure adjusted for your altitude and canner type.
Why Baked Beans Must Be Pressure Canned
Beans are low-acid foods. A boiling-water canner does not reach a high enough temperature to safely process ordinary beans for shelf storage.
The National Center for Home Food Preservation specifically requires a pressure canner for dried beans, baked beans, and beans packed in tomato or molasses sauce.
Do not use a boiling-water bath, oven canning, open-kettle canning, Instant Pot, multicooker, or ordinary pressure cooker as a substitute for the tested pressure-canning process.
The Pinterest Recipe vs. the Tested Recipe
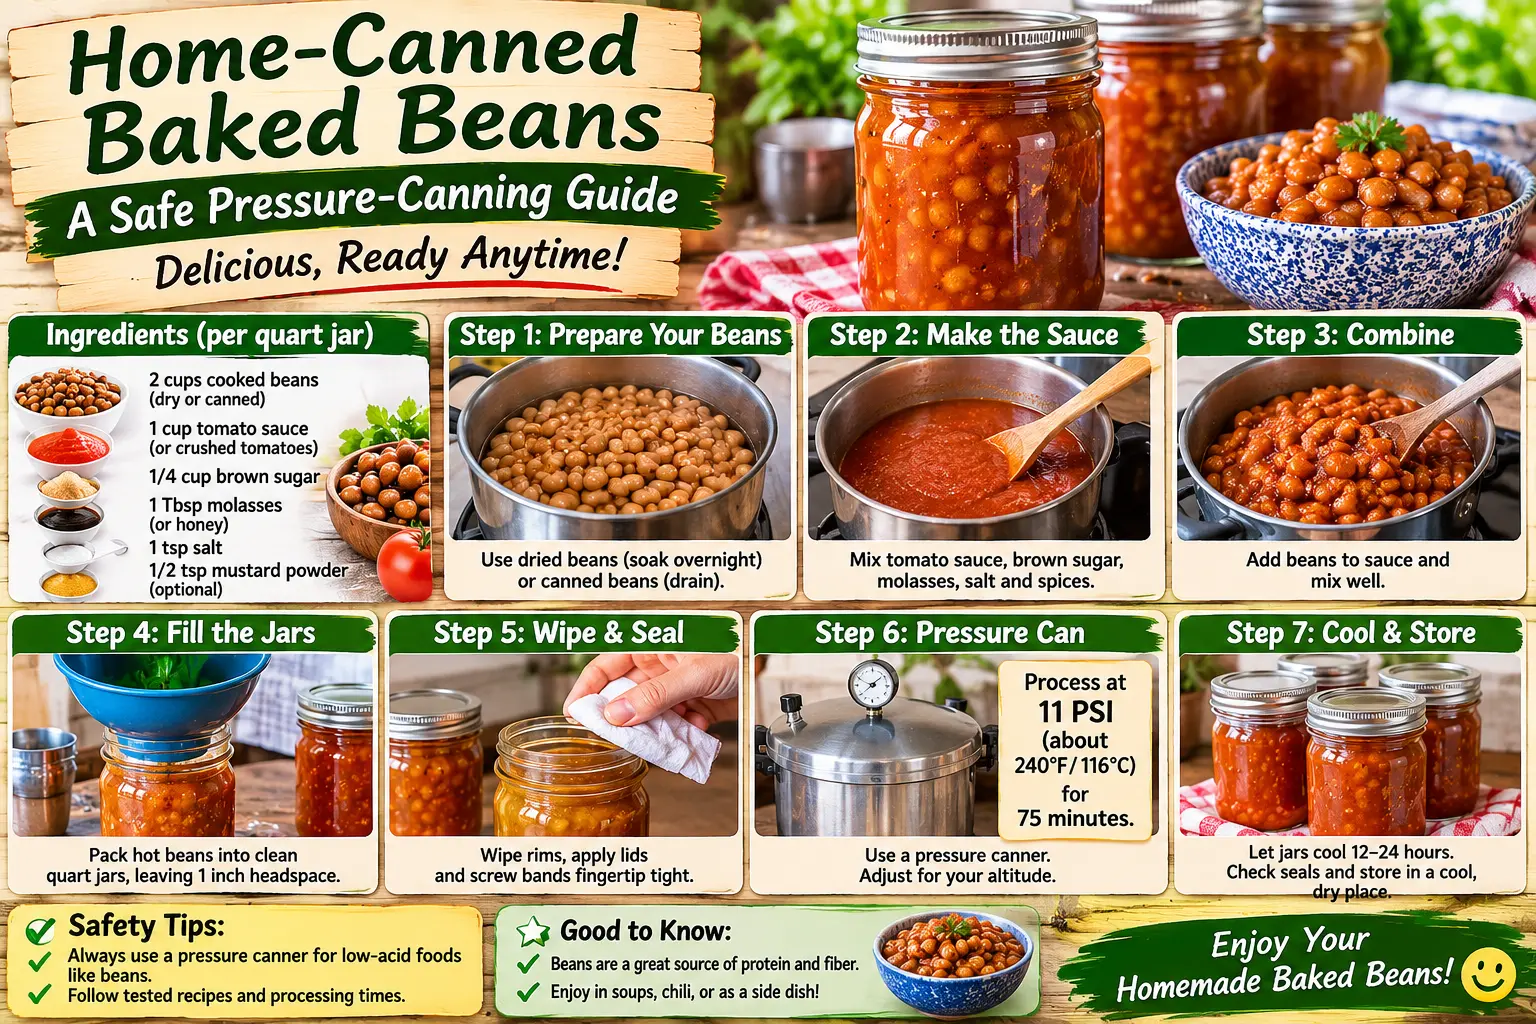
The inspiration graphic lists a rich sauce with tomato juice, tomato sauce, brown sugar, molasses, onion, vinegar, and spices.
That may work as an ordinary baked-bean recipe for eating immediately, but it should not automatically be treated as a canning formula.
The USDA/NCHFP-tested baked-bean recipe uses a much simpler molasses sauce:
- 4 cups water or bean cooking liquid
- 3 tablespoons dark molasses
- 1 tablespoon vinegar
- 2 teaspoons salt
- 3/4 teaspoon powdered dry mustard
Optional pork, ham, or bacon is included only in the specific amount described in the tested method.
Ingredients for the Tested Baked Beans
For the USDA/NCHFP version, start with mature dried beans such as navy beans and prepare enough for your intended canner load.
Molasses sauce
- 4 cups water or reserved bean cooking liquid
- 3 tablespoons dark molasses
- 1 tablespoon vinegar
- 2 teaspoons salt
- 3/4 teaspoon powdered dry mustard
Optional meat
The tested recipe permits small pieces of pork, ham, or bacon in the specified preparation. Do not increase the amount because more meat changes the density and heating characteristics of the food.
1. Sort and Wash the Dried Beans
Pick through the beans and discard damaged, discolored, shriveled, or foreign material.
Rinse the beans thoroughly under clean running water.
2. Rehydrate the Beans Before Canning
This step is essential.
For every cup of dried beans, add 3 cups of water.
- Bring the beans and water to a boil.
- Boil for 2 minutes.
- Remove from the heat.
- Let soak for 1 hour.
- Drain.
- Cover with fresh water and heat again to boiling.
- Reserve some cooking liquid for the sauce.
Never put completely dry beans into jars and add water. Penn State notes that there is no tested process proving this so-called “dry canning” method is safe. Rehydrated beans heat differently from dry beans during processing.
3. Make the Molasses Sauce
Combine:
- 4 cups water or bean cooking liquid
- 3 tablespoons dark molasses
- 1 tablespoon vinegar
- 2 teaspoons salt
- 3/4 teaspoon powdered dry mustard
Heat the mixture to boiling.
4. Bake the Beans
For the tested baked-bean method, place the optional measured pork, ham, or bacon pieces in a suitable baking vessel, then add the prepared beans and enough molasses sauce to cover them.
Cover and bake at 350°F (177°C) for 4 to 5 hours.
Add water as needed during baking so the beans remain adequately moist.
5. Prepare the Pressure Canner and Jars
Before filling:
- Inspect jars for chips or cracks.
- Wash jars and keep them hot.
- Prepare lids according to the manufacturer’s current directions.
- Put the amount of water specified by your pressure-canner manufacturer into the canner.
Follow the canner manufacturer’s operating instructions in addition to the tested recipe.
6. Fill the Jars
Pack the hot baked beans into hot jars.
Leave 1 inch of headspace.
Remove air bubbles as needed, check the headspace again, wipe jar rims, and apply lids and bands according to manufacturer directions.
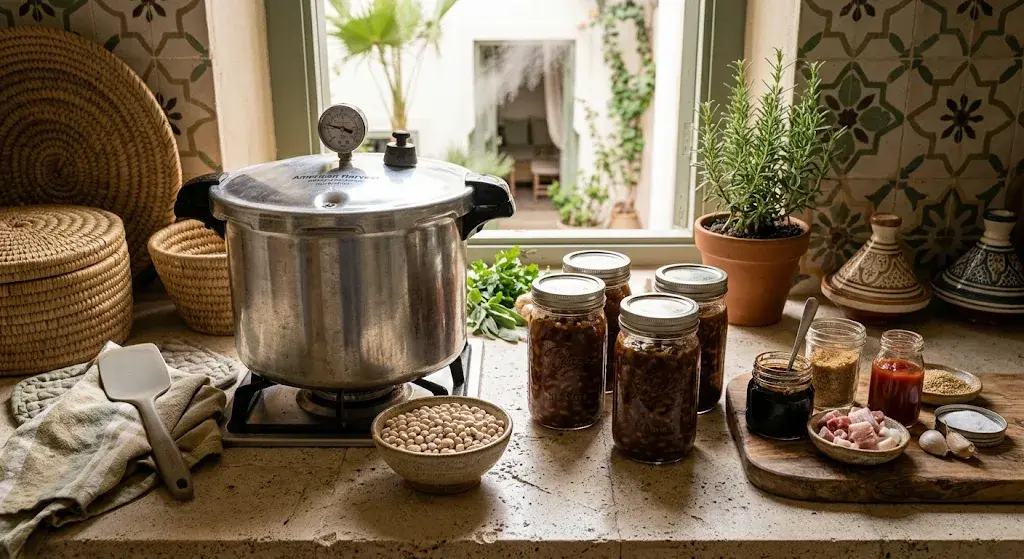
7. Vent the Pressure Canner
After loading the canner and locking the lid, heat it until a strong column of steam escapes from the vent.
Follow current pressure-canner instructions for the required venting period before pressurizing the canner.
Do not start the processing clock until the canner reaches the required pressure.
8. Process for the Full Tested Time
| Jar Size | Processing Time |
|---|---|
| Pints | 65 minutes |
| Quarts | 75 minutes |
Those times apply to the USDA/NCHFP tested recipe. Pressure must still be adjusted for altitude and gauge type.
Dial-Gauge Pressure by Altitude
| Elevation | Pressure |
|---|---|
| 0–2,000 ft | 11 lb |
| 2,001–4,000 ft | 12 lb |
| 4,001–6,000 ft | 13 lb |
| 6,001–8,000 ft | 14 lb |
Weighted-Gauge Pressure by Altitude
| Elevation | Pressure |
|---|---|
| 0–1,000 ft | 10 lb |
| Above 1,000 ft | 15 lb |
Altitude matters. Do not use sea-level pressure simply because the recipe processing time stays the same.
What If the Pressure Drops During Processing?
The required pressure must be maintained for the entire processing period.
If pressure falls below the required level, bring the canner back to the correct pressure and restart the full processing time according to safe pressure-canning guidance.
9. Let the Canner Depressurize Naturally
When the processing time is complete, turn off or remove the heat according to your canner instructions.
Do not force-cool the canner.
Wait until pressure returns naturally to zero before opening the vent or removing the weight.
Oregon State’s current guidance then calls for an additional 10-minute wait before opening the lid, with the lid tilted away from your face to protect against steam.
10. Cool the Jars Undisturbed
Set hot jars upright on a towel or rack where they will not be disturbed.
Do not tighten the bands, turn the jars upside down, or press the lids while cooling.
Allow jars to cool naturally before testing the seals.
11. Test the Seal and Store
After cooling:
- Check each lid for a proper vacuum seal.
- Remove screw bands for storage if following standard two-piece lid guidance.
- Wipe jars clean.
- Label with the product and date.
- Store in a cool, dry, dark place.
Any jar that fails to seal should be handled according to current safe-canning guidance rather than simply left on the pantry shelf.
Can I Add More Brown Sugar or Molasses?
Not if you intend to use the tested shelf-stable canning process.
The Pinterest version uses far more sugar and molasses than the USDA/NCHFP baked-bean formula.
Changing a tested recipe substantially can change viscosity and heat penetration.
If you want sweeter beans, the safest approach is to can them using the tested formula and adjust the sweetness after opening the jar for serving.
Can I Add More Onion, Garlic, or Spices?
Avoid increasing low-acid ingredients such as onion or garlic unless the tested recipe specifically allows it.
Dry spices may sometimes have more flexibility for flavor, but when preserving low-acid foods, the simplest rule is to follow the tested ingredient list exactly.
What If You Want Tomato-Flavored Beans?
NCHFP also publishes a separate tested recipe for Dry Beans With Tomato or Molasses Sauce.
Its tomato version uses a specific formula of tomato juice, sugar, salt, onion, and measured spices.
Use that complete recipe rather than mixing elements from several Pinterest formulas.
Why You Cannot Can Dry Beans Directly in the Jar
A popular shortcut puts dry beans into a jar, adds water, and pressure cans them without soaking.
Penn State specifically warns against this technique because no validated process demonstrates that dry beans heat at the same rate as properly rehydrated beans.
Always soak and heat dried beans according to the tested method first.
Can You Use a Slow Cooker to Rehydrate Beans?
Penn State also advises against using a slow cooker as the rehydration step for dry beans intended for canning.
Use the boiling-and-soaking procedure in the tested recipe instead.
What the Pinterest Pin Gets Wrong
| Pinterest Claim | FarmSolo Safety Check |
|---|---|
| 4 lb navy beans | Beans can be canned, but they must be rehydrated first. |
| Tomato juice + tomato sauce | Do not invent a sauce ratio; use the tested tomato-bean formula if desired. |
| 2 cups brown sugar | Not part of the NCHFP tested baked-bean formula. |
| 1/2 cup molasses | The tested sauce uses only 3 tablespoons per 4 cups liquid. |
| Home canned | Requires pressure canning with a tested process—not merely filling jars. |
| No pressure/time shown | Critical missing safety information. |
7 Baked Bean Canning Mistakes to Avoid
1. Using a water-bath canner
Beans are low-acid and require pressure canning.
2. Putting dry beans directly into jars
Rehydrate them using the tested method first.
3. Making the sauce much thicker or sweeter
Changes in density can affect heat penetration.
4. Adding extra meat
Use only the amount allowed by the tested preparation.
5. Ignoring altitude
Pressure requirements increase at higher elevations.
6. Force-cooling the canner
Let pressure return to zero naturally.
7. Assuming a sealed lid proves safety
A vacuum seal only shows that the lid sealed. It does not prove the food received a safe heat process.
Home-Canned Baked Beans FAQ
Can baked beans be canned at home?
Yes. USDA/NCHFP publishes a tested pressure-canning process for baked beans.
Can baked beans be water-bath canned?
No. Beans are low-acid foods and require pressure canning for safe shelf-stable storage.
How long do you pressure can baked beans?
The NCHFP tested baked-bean process uses 65 minutes for pints and 75 minutes for quarts, with the correct pressure selected for your altitude and gauge type.
Do dried beans need to be soaked first?
Yes. The tested method rehydrates the beans before they are packed and processed.
Can I add more molasses?
Not when using the tested canning process. Adjust sweetness after opening the finished jar instead.
Can I can my family’s regular baked-bean recipe?
Not automatically. Use a tested pressure-canning recipe for shelf storage. Your family recipe can still be prepared fresh or adapted after opening safely canned beans.
The Bottom Line
Home-canned baked beans are absolutely possible, but this is one preservation project where following the tested recipe matters much more than recreating a viral ingredient graphic.
Rehydrate the beans, use the tested sauce, leave the correct headspace, pressure can for the full time, and adjust pressure for altitude.
If you prefer sweeter, smokier, or more tomato-heavy beans, make those flavor adjustments when you open the jar for dinner rather than changing the preservation formula.
Sources
- National Center for Home Food Preservation — Beans, Baked
- National Center for Home Food Preservation — Beans, Dry, With Tomato or Molasses Sauce
- USDA Complete Guide to Home Canning — Vegetables and Vegetable Products
- Oregon State University Extension — Canning Dry Beans
- Penn State Extension — Dried Beans Versus Fresh Shelled Beans