FARMSOLO • FOOD PRESERVATION
Fermenting vegetables is one of the oldest ways to turn a garden harvest into something tangy, flavorful and longer-lasting. Cabbage can become sauerkraut or kimchi, while carrots, cauliflower, green beans, peppers and other firm vegetables can be fermented in a carefully prepared salt brine.
Beginner friendly • garden harvest preservation • salt fermentation • no pressure canner required for refrigerated ferments
Quick Answer
Vegetable fermentation uses naturally occurring lactic-acid bacteria to convert sugars in vegetables into acids. For safe home fermentation, start with fresh produce, use the correct amount of salt, keep the vegetables below the brine, limit oxygen, maintain an appropriate temperature, and allow enough time for acidity to develop. A finished ferment should reach a pH of 4.6 or lower before it is treated as complete.
Fermented vs. Pickled: They Are Not Always the Same
This is the first thing I would correct from many Pinterest graphics.
Fermented vegetables become acidic because microorganisms convert naturally occurring sugars into acids during fermentation.
Quick pickles usually become acidic because vinegar is added directly.
Both can be delicious, but the methods and safety rules are different.
Already making quick pickles? FarmSolo’s Quick Pickled Cucumbers use vinegar and refrigeration. That is a different preservation method from the salt fermentation covered in this guide.
Before You Ferment Anything
- Start with fresh, firm vegetables without spoilage.
- Wash your hands, jars, tools and work surfaces well.
- Use food-grade glass, ceramic or suitable food-grade plastic containers.
- Use canning or pickling salt when a tested recipe calls for it.
- Measure the salt carefully. Do not reduce salt in a fermented recipe just to lower sodium.
- Keep vegetables completely under the brine during fermentation.
- Keep the ferment away from direct sunlight.
- A temperature around 68–72°F is useful for many vegetable ferments.
- Use a research-based recipe for products such as fermented cucumber pickles, sauerkraut and kimchi.
- If a ferment becomes slimy or develops a clearly rotten smell, discard the batch.
Food-safety note: Do not guess the salt concentration. Salt helps favor desirable fermentation organisms while suppressing unwanted microorganisms. The National Center for Home Food Preservation specifically warns against reducing the salt in fermented sauerkraut and fermented pickle recipes.
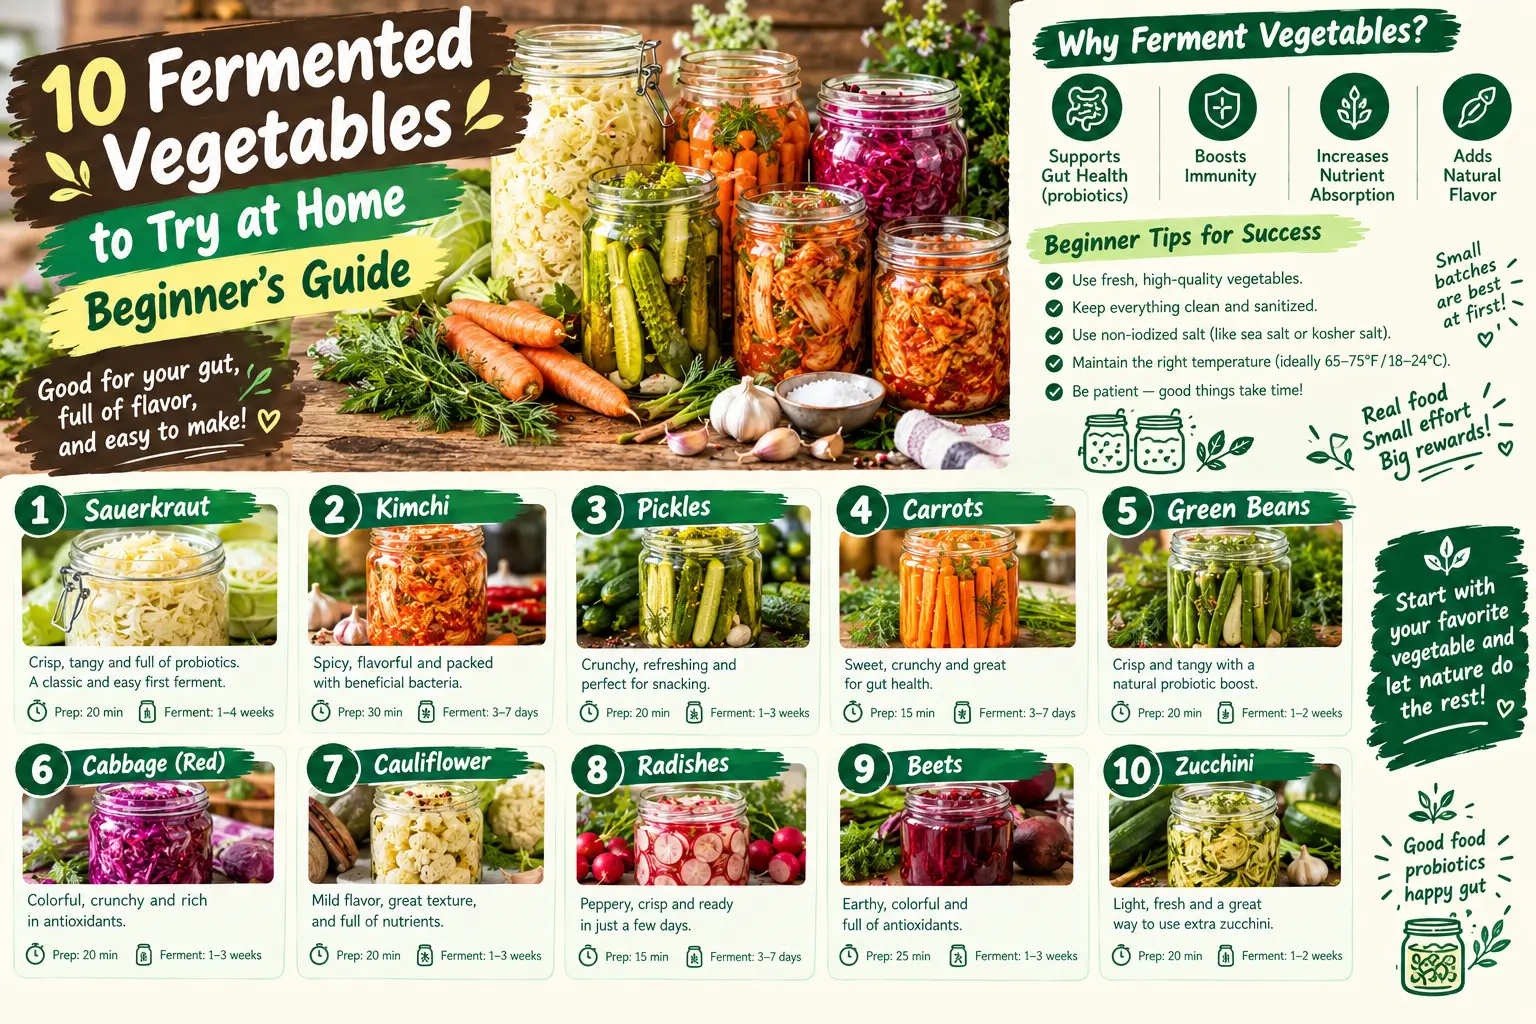
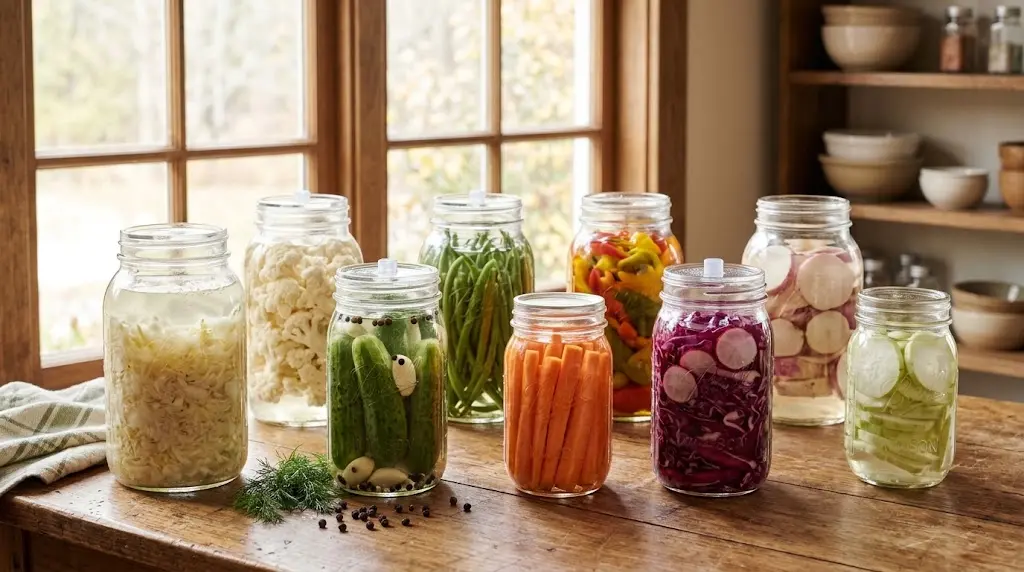
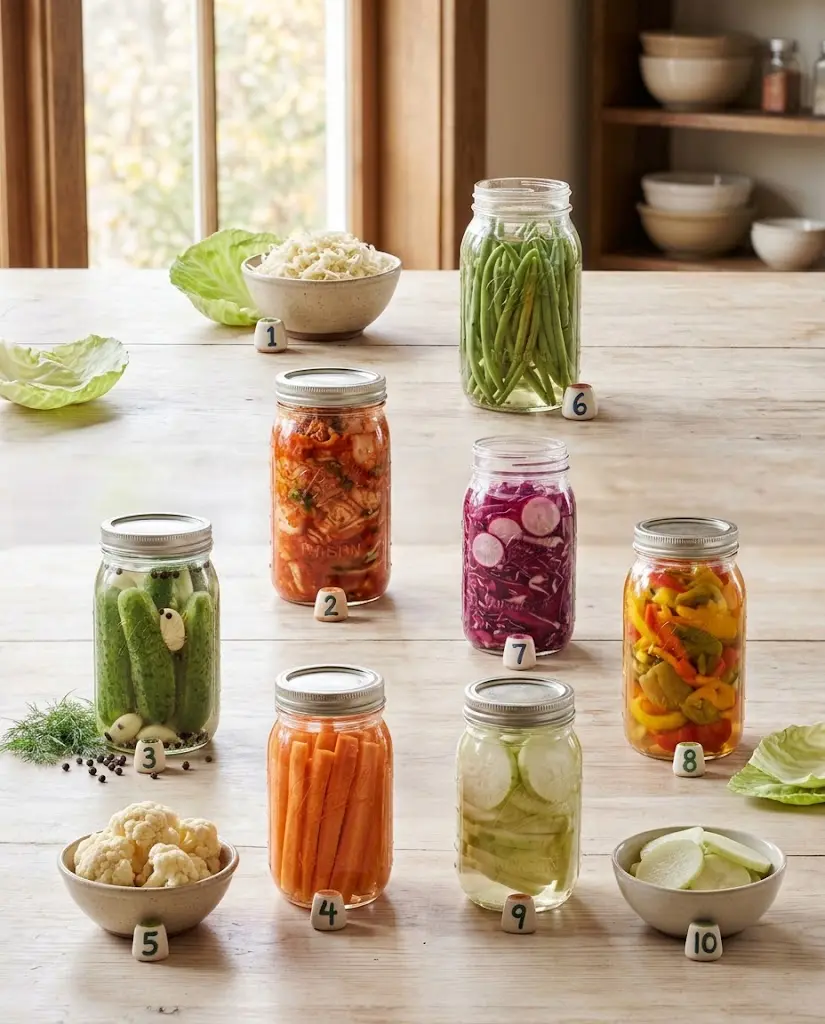
10 Vegetables You Can Ferment at Home
01 • CABBAGE
Sauerkraut
Cabbage is one of the best vegetables for learning fermentation because a tested sauerkraut method is widely available.
The National Center for Home Food Preservation uses 3 tablespoons of canning or pickling salt for each 5 pounds of shredded cabbage. The salted cabbage is packed firmly until its own juices rise and cover it.
At 70–75°F, its tested guidance says sauerkraut generally needs about three to four weeks to fully ferment.
02 • NAPA CABBAGE
Kimchi
Napa cabbage can be fermented into kimchi with ingredients such as radish, green onion, garlic, ginger and Korean chile.
Kimchi deserves its own tested recipe rather than being treated like generic cabbage in a salt-water jar. Oregon State University Extension publishes a tested fermented kimchi method with specific cabbage, salt and seasoning amounts.
03 • CUCUMBERS
Fermented Dill Pickles
Traditional fermented dill pickles are not the same as refrigerator vinegar pickles.
Cucumbers need the salt concentration specified by a tested recipe. Do not reduce the salt or replace a tested fermented pickle formula with a generic brine from social media.
For better texture, start with very fresh pickling cucumbers and remove a thin slice from the blossom end.
04 • CARROTS
Fermented Carrot Sticks
Carrot sticks stay firm and work well with garlic, black peppercorns and fresh dill.
For whole or large vegetable pieces, Illinois Extension recommends a 5% brine as a general fermentation approach: about 45 grams of salt per quart of water.
Keep every carrot below the brine using a clean fermentation weight.
05 • CAULIFLOWER
Garlic Fermented Cauliflower
Cauliflower florets have plenty of spaces that hold seasonings, which makes them a good match for garlic, peppercorns and a little chile.
Pack florets firmly but do not crush them. Leave enough room for a fermentation weight and enough brine to keep the cauliflower completely submerged.
06 • GREEN BEANS
Dilly Fermented Green Beans
Firm green beans are another easy garden vegetable to pack vertically into a fermentation jar.
Trim the ends and combine the beans with fresh dill, garlic and peppercorns. Keep the beans short enough that all of them stay below the brine instead of sticking into the air above it.
07 • RADISHES
Tangy Fermented Radishes
Radishes develop a strong, tangy flavor when fermented and can be sliced or cut into larger pieces.
Do not automatically use the same brine as carrots. University of Minnesota notes that vegetables including radishes, cucumbers and onions may require higher salt amounts than many other vegetables.
Follow a research-based recipe and measure rather than estimating by taste.
08 • PEPPERS
Fermented Peppers
Sweet peppers, jalapeños and other fresh peppers can be fermented before being eaten as a side or blended into fermented hot sauce.
Wear gloves when handling very hot peppers and avoid touching your eyes or face.
Peppers work especially well with garlic, but all solid ingredients still need to remain below the brine.
09 • TURNIPS
Fermented Turnips
Turnips have a firm texture that works well for fermentation. Cut them into even sticks or chunks so pieces ferment at a similar rate.
They can also be added to mixed vegetable ferments with cabbage, cauliflower, radish or peppers.
10 • KOHLRABI
Crunchy Fermented Kohlrabi
Kohlrabi is easy to overlook, but its crisp interior makes it an excellent candidate for mixed vegetable fermentation.
Peel the tough exterior, cut the inside into sticks or chunks and pair it with garlic, dill or mild chile.
What about beets? Beets are commonly shown in fermentation graphics, but they contain relatively high amounts of sugar. University of Saskatchewan notes that beets and carrots may be less reliable when fermented alone and recommends using smaller amounts in mixed vegetable ferments. For a beginner, I would start with cabbage, cauliflower, green beans or a tested cucumber recipe before experimenting with beet-heavy batches.
A Simple Brine Guide
| Type | Salt guide | Best for |
|---|---|---|
| 3% brine | 27 g salt per 1 quart water | Some shredded vegetables |
| 5% brine | 45 g salt per 1 quart water | Whole or larger vegetable pieces |
| Dry salt | Follow the tested vegetable-specific recipe | Sauerkraut, kimchi, shredded vegetables |
| Cucumbers / radishes / onions | May require a stronger vegetable-specific brine | Follow a research-based recipe rather than the generic chart |
Weighing salt is more reliable than relying only on tablespoons because different salts can have different crystal sizes and densities.
How to Keep Vegetables Under the Brine
Oxygen is one of the main things we are trying to limit during vegetable fermentation.
Pack the vegetables firmly and place a clean fermentation weight above them so the vegetable pieces stay below the surface.
The National Center for Home Food Preservation recommends keeping cabbage and cucumbers about 1 to 2 inches under the brine during fermentation.
An airlock lid can also help allow carbon dioxide to escape while limiting outside air.
How Do You Know When Fermentation Is Working?
Normal fermentation signs can include:
- Small bubbles forming in the brine
- A pleasantly sour aroma
- Brine becoming slightly cloudy
- A progressively tangier flavor
- Increasing acidity as fermentation continues
When Should You Throw a Ferment Away?
A strange-looking fermentation experiment is not the place to be adventurous.
If the vegetables become slimy or the batch smells spoiled or rotten, discard it.
Visible fuzzy mold is also a reason for a beginner to discard the batch rather than trying to rescue it.
Cloudiness alone is not necessarily spoilage. Fermentation bacteria and vegetable juices can naturally make brine cloudy.
Why a pH Meter or Good Test Strips Are Worth Having
Taste tells you whether you enjoy a ferment. It does not tell you the exact acidity.
University of Minnesota recommends monitoring acidity and reaching a pH of 4.6 or below. If bubbling has stopped but the pH remains above 4.6, fermentation should continue and the pH should be checked again.
For anyone who plans to make vegetable fermentation a regular part of the homestead kitchen, measuring pH is a simple extra layer of confidence.
How Long Do Vegetables Need to Ferment?
There is no single correct number of days for every vegetable.
Temperature, vegetable size, salt concentration, recipe and batch size all affect fermentation speed.
For example, tested sauerkraut may require several weeks, while some kimchi recipes ferment at room temperature for a much shorter period before refrigeration.
Follow the timing in the recipe you are using instead of assuming every jar should be ready in three days.
How to Store Fermented Vegetables
Once the fermentation is complete, refrigeration dramatically slows the process and is the simplest storage method for small home batches.
Keep the finished vegetables covered and refrigerated, and continue keeping them below their brine where appropriate.
Some tested fermented foods can also be processed in a boiling-water canner for shelf storage, but only use a tested recipe with the correct processing time. Canning also heats the product and removes the live microorganisms associated with an unpasteurized ferment.
Continue learning: Read FarmSolo’s guide to canning and preserving food for an overview of other ways to save a garden harvest.
Common Fermentation Mistakes
- Reducing the salt. Salt is part of the fermentation process, not just seasoning.
- Letting vegetables float above the brine. Keep the produce submerged.
- Using spoiled produce. Fermentation does not turn rotten vegetables into safe food.
- Using reactive containers. Stick with suitable food-grade materials.
- Fermenting in a very hot room. Excessive heat can produce poor texture and spoilage.
- Following one brine formula for every vegetable. Some vegetables require different salt concentrations.
- Calling every vinegar pickle fermented. Direct vinegar pickling and fermentation are different processes.
- Guessing when a ferment is safe. Follow a tested method and monitor acidity when appropriate.
- Ignoring slime or rotten odors. Discard clearly spoiled batches.
Fermented Vegetables FAQ
What are the easiest vegetables to ferment?
Sauerkraut made from cabbage is an excellent first project because a thoroughly tested home method is available. Firm vegetables such as cauliflower, carrots and green beans can also work well when you use an appropriate research-based fermentation method.
Do I need vinegar to ferment vegetables?
Not for normal lactic-acid vegetable fermentation. The bacteria create acid during fermentation. Some specific tested fermented pickle recipes may include a small amount of vinegar, so always follow the recipe you are using.
Can I ferment vegetables without salt?
Do not simply remove the salt from a fermented vegetable recipe. Salt helps control which microorganisms grow and is important for safety, texture and flavor. Use the amount required by the tested recipe.
Does cloudy brine mean the ferment is bad?
Not necessarily. Cloudiness can be a normal part of fermentation. A slimy texture or clearly spoiled, rotten odor is much more concerning and is a reason to discard the batch.
Do fermented vegetables need refrigeration?
For small home batches, refrigeration after fermentation is the simplest storage method. It slows fermentation and helps preserve quality. Shelf-stable storage requires an appropriate tested canning process for that specific food.
Are fermented vegetables always probiotic?
Unpasteurized fermented vegetables may contain live microorganisms, but not every fermented product should automatically be marketed as a probiotic food with a specific health benefit. Heating or canning a ferment also kills the live fermentation organisms.
What pH should fermented vegetables reach?
A useful food-safety target is pH 4.6 or lower. Follow the complete tested recipe and fermentation procedure rather than relying on pH alone.
Trusted Fermentation References
For tested methods and food-safety guidance, use resources from the National Center for Home Food Preservation, University of Minnesota Extension, and Illinois Extension. For kimchi, Oregon State University Extension publishes a dedicated tested guide.
Start With One Jar, Not Ten
Pinterest makes ten colorful jars look easy, but successful fermentation is about controlling a few important details rather than filling the refrigerator with experiments.
Start with a tested batch of sauerkraut, kimchi or fermented cucumbers. Learn what healthy fermentation looks and smells like. Then move on to carrots, cauliflower, green beans and mixed garden vegetables.
Fresh vegetables + measured salt + clean equipment + full submersion + proper temperature + enough time = a much better fermentation plan than copying an unlabeled jar from a social-media image.