Let me tell you right off the bat the first time I tried making rosemary oil, I almost burned my kitchen down. Yeah, I’m serious. I thought I could speed things up by cranking the heat too high. The oil started smoking, and my wife yelled, “Are you trying to deep fry the herbs or make oil?” That was my wake up call. Since then, I’ve learned the right way to do it slow, easy, and patient and now I use this homemade oil for almost everything.
I’ve been living this homesteading life for over ten years now. Between growing veggies, raising a few chickens, and preserving just about anything that fits in a jar, I’ve learned to make use of what grows around me. Rosemary is one of my favorite herbs tough, fragrant, and just keeps coming back year after year. Making rosemary oil is one of those little DIY projects that makes you feel like you’re truly living the self-sufficient dream. So lemme show you how I do it, what I messed up along the way, and a few tricks you probably won’t find on fancy websites.
Why I Started Making My Own Rosemary Oil
It started simple I wanted something to use on sore muscles after working in the garden all day. A neighbor told me to try rosemary oil, said it helps with stiffness and smells good enough to make you forget your back hurts. I checked online, saw those tiny bottles for like 15 bucks, and thought, “Heck, I can make that myself.”
And you know what? It turned out better than I expected. My house smelled amazing for a whole week, like some fancy spa but with chickens clucking in the background.
Now, I use rosemary oil for all sorts of stuff: cooking, hair care, sore joints, keeping bugs away, even cleaning wood surfaces. It’s one of those all-purpose things every backyard homesteader should try at least once.
The Rosemary Itself Fresh or Dried?
Here’s where I made my first mistake. I used fresh rosemary straight off the plant. Looked beautiful, smelled heavenly, but that little bit of moisture inside the leaves made my oil spoil fast. After two weeks, it started smelling funky kinda like old grass. Lesson learned: either dry your rosemary first or use store-bought dried sprigs.
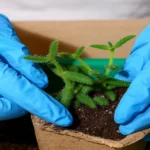
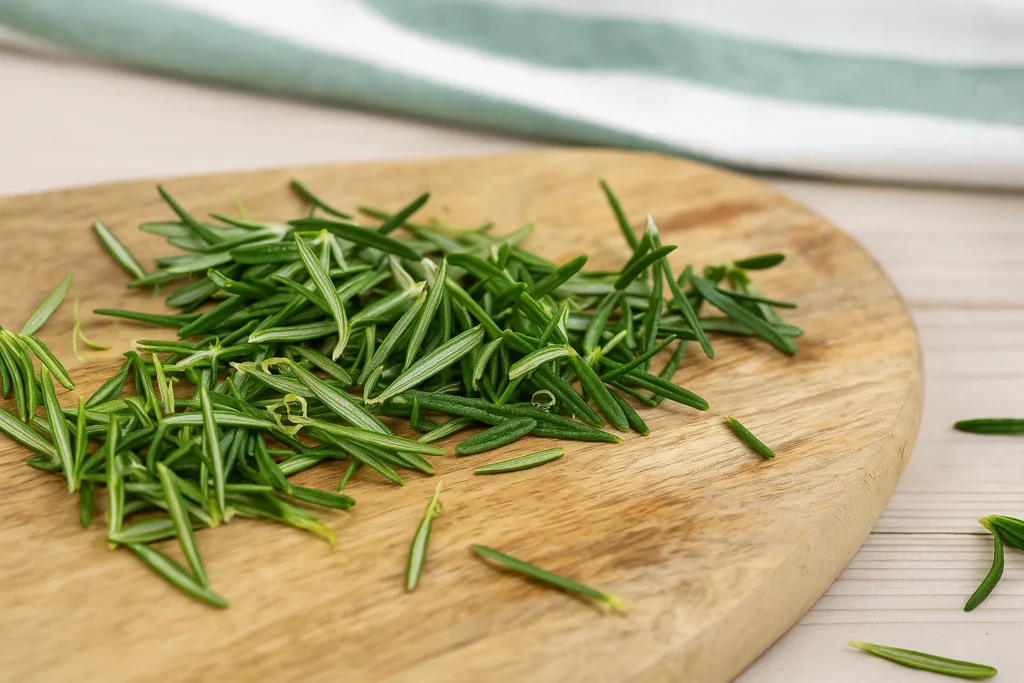
If you’re harvesting from your own garden, just cut a few healthy branches, rinse them gently, pat them dry, and then hang them upside down in a warm, airy spot for a few days. When they’re crispy but still green, they’re ready.
Trust me, you’ll thank yourself later. The oil will last months instead of weeks.
What You’ll Need (and What I Actually Use)
Here’s what I use nowadays after a lot of trial and error. You don’t need fancy tools this is homesteading, not chemistry class.
- Dried rosemary (a handful or two)
- A clean glass jar with a tight lid (mason jars work great)
- A carrier oil my favorite is olive oil, but you can use sunflower, jojoba, or almond oil
- A small saucepan (for the warm infusion method)
- Cheesecloth or coffee filter for straining
- A dark glass bottle for storage
That’s it. Simple stuff you probably already have at home.
Two Ways to Make Rosemary Oil (and the Pros & Cons of Each)
I’ve tried both the slow method and the quick method, and they each have their place. Depends how patient you are and how soon you want to smell like a Mediterranean garden.
1. The Slow Infusion (a.k.a. The Lazy Way That Works Every Time)
This is my go-to now. It takes 3 to 4 weeks, but the flavor and scent are rich and deep.
Here’s what I do:
- Fill your jar about halfway with dried rosemary.
- Pour in your carrier oil until it covers the herbs completely.
- Tighten the lid, shake it gently, and place it near a sunny window.
- Once a day, give it a little shake to mix things up.
After a few weeks, strain it through cheesecloth, pour it into a dark glass bottle, and boom homemade rosemary oil that’ll keep for months.
Pro: No cooking, no risk of overheating.
Con: You gotta wait and I’m not always great at that.
2. The Quick Warm Method (When You Need It Now)
This one saved me last winter when I ran out of rosemary oil and didn’t want to wait weeks.
Here’s how:
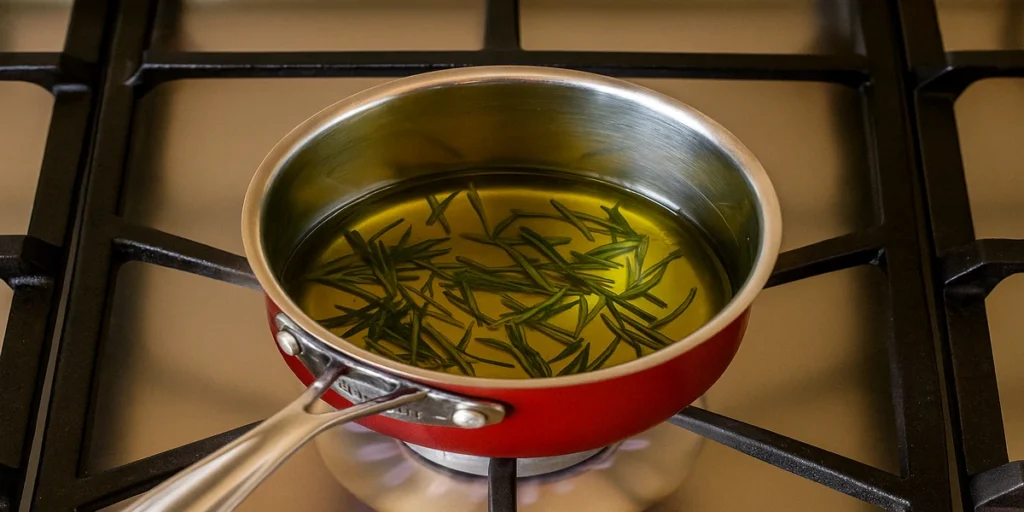
- Combine rosemary and oil in a saucepan.
- Set it on the lowest heat possible for about 10 or 15 minutes.
- Stir gently every few minutes. Don’t let it bubble or smoke if it does, it’s too hot.
- Let it cool completely before straining.
It works fine in a pinch, but the scent’s a bit lighter, and it doesn’t last quite as long. Still, it’s better than nothing.
My Favorite Uses for Homemade Rosemary Oil
I didn’t realize just how versatile this stuff was until I started experimenting. Now it’s part of my daily routine. Here’s a few ways I use it around my homestead:
1. Cooking
A drizzle of rosemary oil on roasted potatoes or homemade bread? Unreal. It gives a deep, earthy flavor that beats any store-bought infused oil.
2. Sore Muscle Rub
After hauling feed bags or fixing fences all day, I mix rosemary oil with a little peppermint oil and rub it on my shoulders. Feels great and smells fresh.
3. Natural Hair & Beard Oil
I’m not exactly a beauty guru, but a few drops of rosemary oil mixed with coconut oil works wonders for dry hair or beard. My wife says it smells “clean and woodsy” I’ll take that as a win.
4. Pest Control
This one’s crazy but true: rosemary oil helps keep mosquitoes and flies off. I rub a bit on my arms when working outside in summer. You can also add some to a spray bottle with water and vinegar for a natural bug repellent.
5. Homemade Cleaner
Add a spoonful to your DIY vinegar cleaner, and your house will smell like a herb garden instead of pickles.
Mistakes I Made (and How You Can Avoid Them)
Alright, time for some honesty because I messed this up more times than I care to admit.
- Using wet rosemary. Like I said before, moisture makes oil go rancid. Dry your herbs first.
- Forgetting to label jars. One time, I grabbed what I thought was rosemary oil and ended up seasoning chicken with garlic oil. Tasted weird.
- Leaving jars in full sun too long. Direct sunlight can degrade the oil. Warm light’s good, but don’t bake it.
- Not straining well. If little bits of rosemary get left in, they can mold. Always strain twice.
These small things make all the difference if you want good, clean, long-lasting oil.
How Long Does Rosemary Oil Last?
Usually, your homemade rosemary oil will stay fresh for up to 6 months if you store it right in a cool, dark place, away from sunlight. I like to keep mine in a dark bottle in the pantry.
You’ll know it’s gone bad if it smells sour or the color changes a lot. Don’t take chances toss it and make a new batch. Herbs are cheap, food poisoning isn’t.
Mini FAQ: Things Folks Always Ask Me
Q: Can I use fresh rosemary instead of dried?
A: You can, but I wouldn’t. The moisture makes the oil spoil faster. If you must, use the quick warm method and store it in the fridge.
Q: What’s the best oil to use?
A: Olive oil’s my favorite it’s stable, easy to find, and blends great with rosemary’s scent. But you can experiment with almond or grapeseed too.
Q: Can I make rosemary essential oil this way?
A: Nope. That’s a whole other process involving steam distillation. What we’re making here is infused oil, not pure essential oil. Still great for daily use.
Why This Simple Project Matters
I know this might sound silly, but making rosemary oil changed the way I think about small homestead projects. It’s not just about saving money though you definitely will it’s about learning to do more with what you’ve got.
There’s something peaceful about standing in your kitchen, pouring golden oil over herbs you grew yourself. You’re connecting the garden, the kitchen, and your daily life in a way store-bought stuff never could.
And honestly, every time I use my homemade rosemary oil, I feel a bit proud like I bottled a little piece of summer to use all year.
My Final Thoughts (And a Few Last Tips)
If you’ve never tried making rosemary oil, don’t overthink it. Just grab some herbs, some oil, and get started. You’ll mess up once or twice, sure but that’s how you learn.
Here’s my parting advice:
- Label everything. Future you will thank past you.
- Be patient good things take time.
- Share what you make. A jar of rosemary oil makes a perfect homestead gift.
This little project taught me patience, attention to detail, and appreciation for small victories. It’s one of those easy wins that remind you why the homesteading life is worth it slow, real, and full of good smells.
So, go make your batch. And if you screw it up the first time well, you’re in good company.
Got questions or wanna share how yours turned out? Comment below. I actually read ‘em and try to help when I can. Trust me, if I can do this without setting off the smoke alarm again, so can you.